Last Updated on May 10, 2022 by Mathew Diekhake
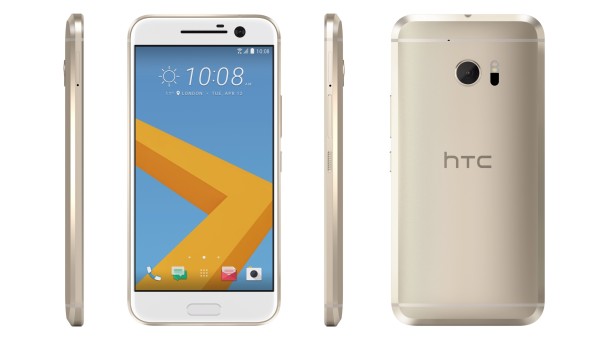
Like rooting the Android operating system on the HTC 10 smartphone, installing a custom recovery on the device is customizing the OS away from how the manufacturer intended it to be out of the box. However, that’s about where the similarities between rooting and installing a custom recovery partition end. Sometimes rooting and a custom recovery play off of each other in the sense that you may at times need both things on your smartphone before you can do other things. For example, you need both root access and a new recovery to start installing your ROMs. However, rooting and a new recovery don’t do anything that’s close to being the same.
A custom recovery will override your stock recovery partition, so your recovery partition is still running a recovery, but it’s a new recovery and one that has been made with more features and thus allowing you to do more things. One of those things you can do is install your zip files which are how we upload our new ROM files, our boot images, our custom kernel and so forth. Another feature that is built into a custom recovery partition is the ability to backup easier than nay another way. In fact, you will often find people installing a custom recovery for the sake of getting to use the NANDroid Backup feature only without any intention of using a custom recovery for anything else.

Here is everything you need to install TWRP Recovery — the world’s most popular custom recovery image — on the HTC 10 smartphone so you can root the device next if you wish to install root apps like the Titanium Backup app or check out some custom ROMs like the official CyanogenMod custom ROM.
Files You Need
- Download the TWRP Recovery file that works for the HTC 10 smartphone from here.
- Download the ADB for Windows on your computer so you can run some ADB commands from a command prompt. You can use ADB on Mac and ADB on Linux too, but those files only set up the ADB and Fastboot on your computer. They do not come with the commands you need. The commands you need to enter vary from the Windows version that we are using in this guide.
- You must unlock the bootloader on the HTC 10 smartphone before you may follow this guide to install a custom recovery on the same device.

Installing a Custom Recovery on the HTC 10 smartphone
- Set up the ADB on the Windows computer before you do anything else.
- Download the TWRP from the files section above and then extract the file to the desktop of the computer.
- Copy the TWRP files over to the same folder as the ADB folder.
- Connect the HTC 10 smartphone to the computer with the USB cable.
- From inside the ADB and custom recovery folder, hold down the Shift key and right-click the mouse where it shows the background and then choose to open a new command window here from the menu.
- Type the command “adb reboot bootloader” to get the HTC 10 smartphone into the bootloader mode.
- Type the command “fastboot flash recovery twrp-3.0.2-4-pme.img” to flash the custom recovery on the HTC 10 smartphone.
- Type the command “fastboot reboot” to reboot the HTC 10 back into the normal mode and hold down the hardware key combination for the recovery mode as soon as it first-time boots so you go directly to the recovery you just flashed.
In conclusion, that is how to install a custom recovery on the HTC 10 smartphone using the ADB and Fastboot from a Windows computer. Now that you have Team Win’s TWRP Recovery installed, you can check out how to root the HTC 10 smartphone running on the Android 6.0.1 Marshmallow update so you can start installing the root requiring application as well as start installing aftermarket firmware.
