The following tutorial demonstrates how to use Disk Cleanup when using a version of the Windows Vista operating system.
Windows Vista isn’t a self-sufficient operating system; it will collect much of your data until you choose to delete it. This doesn’t happen simply because it was programmed lazily but rather to give you the option of storing files that you may want to use again instead of deleting everything after it has been used. But most users find this feature to be an annoyance because they often find their computers running out of space as well as the process to clean up the computer a complicated task better suited to a software professional. Nevertheless, if you use Vista, you have no choice but to clear the space one way or the other, and this tutorial will run through precisely how that is done.
How to Use Disk Cleanup in Windows Vista
You can get access to and use the Disk Cleanup utility via the Start Menu in Windows Vista. Here is how to do that:
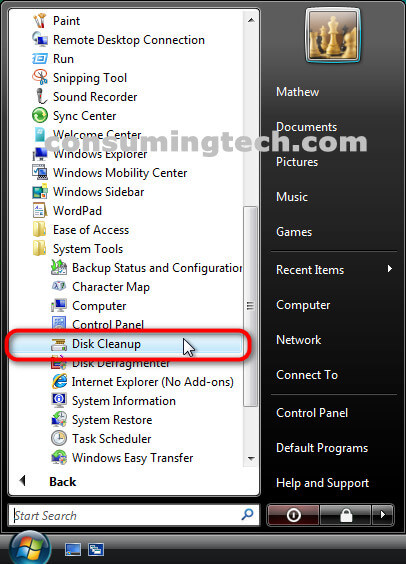
1. Click on the Start Menu > All Programs > Accessories > System Tools > Disk Cleanup.
2. Windows Vista allows you to choose between cleaning up the files on your own account only or cleaning all files from the computer regardless of how many user accounts there may be on the PC. If you do share a computer, though these are only temporary files, you may wish to only stick with deleting files from your account for now unless you are the administrator.
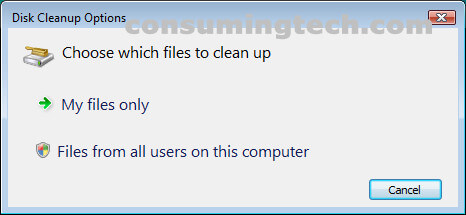
3. To Clean My Files Only
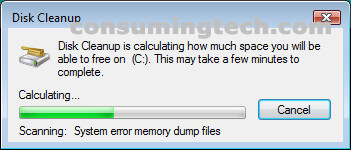
a. Click on My files only and then wait for Disk Cleanup to calculate how much space you will be able to free on your C:\ drive.
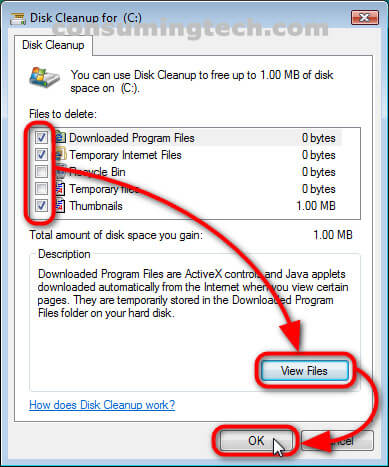
b. From the Disk Cleanup for (C:) dialog, select the things you would like to delete to free up space by clicking the checkboxes next to the names under the Files to delete: field. You can also click on the View Files button to view more specifically the files to be found within a particular checkbox.

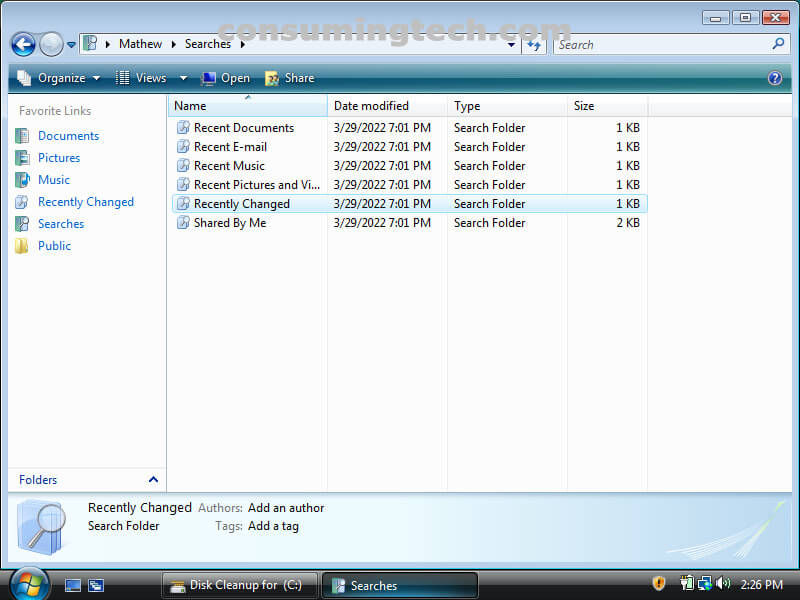
c. Browse File Explorer and check the files that are found within the checkbox so you know for sure you aren’t deleting any files that you actually need.
d. Once you have made your selection of checkboxes and files, click on the OK button at the bottom of the Disk Cleanup for (C:) dialog to proceed to delete the files from the computer entirely.
e. Click on the Delete Files button when you get the message that asks: Are you sure you want to permanently delete these files in the Disk Cleanup dialog.

4. To Clean Files From All Users on the Computer
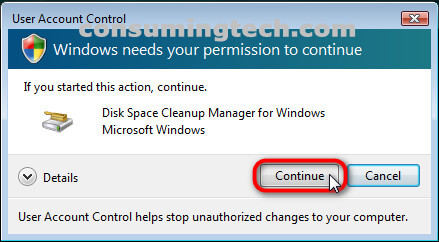
a. If you were to select Files from all users on this computer in step 2 instead, you would first be greeted with User Account Control prompt, where you need to click on Continue to proceed.
b. Go through the same things in step 2 above but also notice a new tab at the top of the Disk Cleanup dialog called More Options where you get access to two more menus: Programs and Features and System Restore and Shadow Copies which can also be cleaned up should you choose to do so.

In conclusion, that is how to use Disk Cleanup when using a version of Windows Vista.
Related Tutorials
- How to Open Elevated Command Prompt in Windows Vista [Tutorial]
- How to Fix Cannot Delete a File or Folder Due to Corrupt Recycling Bin [Tutorial]
- How to Change Menu Show Delay Time in Windows Vista [Tutorial]
- How to Check System Uptime in Windows Vista [Tutorial]
- How to Stop XP Dual Boot Deleting System Restore Points [Tutorial]
- How to Switch Windows Media Player to 64 Bit in Windows Vista [Tutorial]
- How to Get Windows Vista Into Safe Mode [Tutorial]
- How to Restore Default File Type Associations in Windows Vista [Tutorial]
- How to Setup Event Viewer to Send Email Notifications in Windows Vista [Tutorial]
- How to Adjust Cookie Preferences in Internet Explorer in Windows Vista [Tutorial]