A factory image is the perfect way for you to return the Google Nexus 10 back to stock software. You might wish to do that because you are running a custom ROM, such as any number of the popular ROMs made for the device. Some of the most popular custom ROMs for the Google Nexus 10 include the Paranoid Android and SlimLP ROMs.
Related Reading: The 10 Best Custom ROMs For The Google Nexus 10
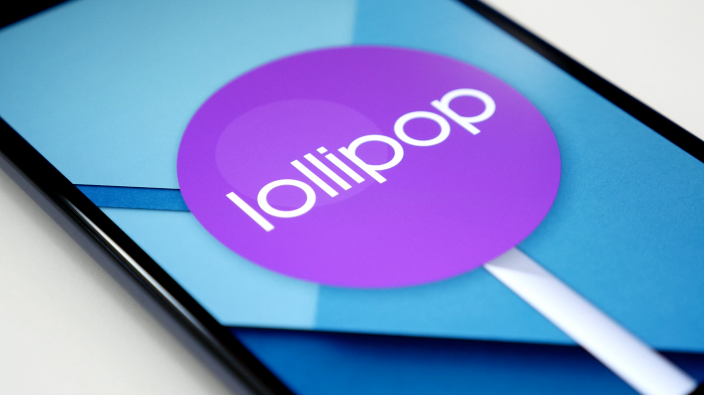
Android 5.1 Lollipop is only running on a small percentage of Android device due to most people still running KitKat. To get all carriers upgrading to Lollipop is taking far longer than most of us had predicted. While it’s true the Android 6.0 Marshmallow is already out a couple of new Google Nexus devices, do not expect Marshmallow running on most devices any time soon. That means updating to Lollipop still an attractive option. Those wishing to use the most stable software out there today should also choose Lollipop over the newer Marshmallow.
The Files You Need
- Download the LMY47D factory image from this link.
- Download the Android SDK and set it up on your computer. Get the SDK from the Android developers website here. Moreover, you can learn how to install Android SDK using three different methods on this page.
- Make sure you backup the Nexus 10 before starting the guide. You are wiping the data on the device and that same data cannot be restored unless you backup it up beforehand. That includes your pictures, settings, videos, text messages and phone contacts you might have on the tablet.
Updating the Google Nexus 10 with Android 5.1 Lollipop LMY47D factory image
- Download the LMY47D factory image to the desktop of the computer.
- Right-click the mouse over the file and select the ‘extract here’ option from the menu.
- Shift the extracted factory image over to the same folder as the Android SDK.
- Long-press the Power button and switch off the Google nexus 10.
- Reboot the tablet in bootloader and fastboot mode. Do that by holding the Volume Up + Home + Power keys.
- Connect the Nexus 10 to the computer using the USB cable.
- Hold down the Shift key and right-click the mouse anywhere in the Android SDK folder where it’s empty.
- Choose to open the command window here from that menu.
- Type in the first command:
adb command - Entering the above command will check that your device is connected.
- Now run the flash-all.bat file you should have in the folder which you extracted earlier.
- Confirm you do want to install that file and wait for the flashing of the new Android 5.1 Lollipop image to complete.
- Now your device must reboot in normal mode and out of the fastboot mode. You can do that by resetting it the same way you normally would.
- Take control of your Google account once again and you’re all done.
- You may anytime choose to root the Google Nexus 10 after installing this stock factory image. The same rules apply to the custom ROMs available for your device.