Installing TWRP Recovery to replace the stock recovery partition on the Android operating system is not as complicated as it seems. Though it is often more challenging than rooting a device, installing a custom recovery can be made with a few commands from command line usually.
When a command line is not available to do the job, we can often just flash the recovery instead. The tools that we use to flash the custom recovery image depends on what smartphone or tablet we are using for the job.
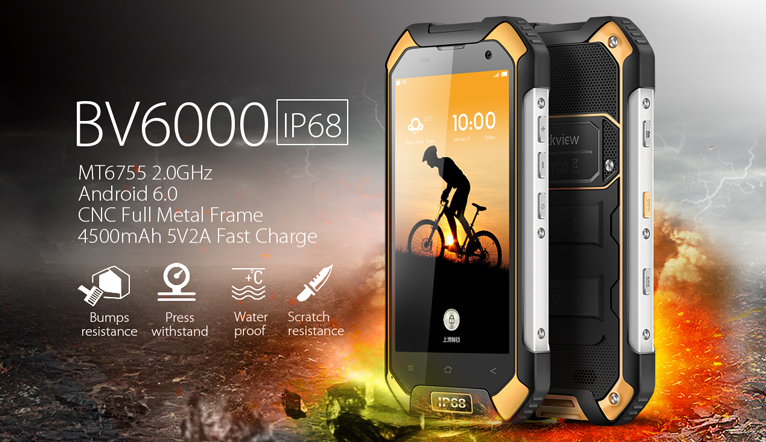
The Blackview BV6000 makes use of the SP Flash Tool, and the guide below shows you everything you need to get the TWRP Recovery installed:
Details We Should Know
- The following guide is made with the Windows operating system in mind. More specifically it is the version of the SP Flash Tool found in this guide that only works on Windows operating systems. If you can find a working version of the SP Flash tool for Linux and Mac, then feel free to use one of those other operating systems instead.
Files We Need
- Download the SP Flash Tool directly to the computer.
- Download and install the MTK MediaTek drivers on the computer.
- Download the TWRP Recovery for the Blackview BV6000 smartphone.
Installing TWRP Recovery on the Blackview BV6000
- Start by logging into the Windows PC using an administrators account so that you can use the flashing tool.
- Extract all the files on the computer and make sure you do run the MediaTek USB Drivers before getting started with the rest of the guide.
- Open the flashing tool and select the ‘scatter-loading’ option from the flashing tool user interface.
- Click through to where you extracted the files and open the rooting folder and upload the ‘MT6755_Android_scatter.txt’ file to the flashing tool.
- Deselect all options that are available from the flashing tool apart from the recovery image (leave that box checked as on).
- Double-click the mouse on the recovery.img line and then open it up, so the user interface is showing.
- Choose to upload the TWRP file from the extracted rooting folder to this location in the flashing tool.
- Press the Power button on the Blackview BV6000 and choose to turn it off completely and make sure that it is not connected to the computer with the USB cable.
- The drop-down menu above the recovery.img needs to show “download only” as the option. Change it to the download only if it is not currently displayed.
- Connect the USB cable to the Blackview BV6000 and then connect the other end of the USB cable to the computer.
- Once connected, the flashing of the custom recovery image is now going to happen automatically directly after you can see a red bar appearing.
- Click OK from the download complete dialogue box when it appears.
In conclusion, that is how to install TWRP Recovery on the Blackview BV6000 smartphone so you can start flashing files and taking NANDroid Backups. That means you can now find out everything there is to know for learning how to root the Blackview BV6000 smartphone running on the Android 6.0 Marshmallow software updates.
September 10, 2016 @ 06:32
Hello, i installed twrp on my device , everithing works except that when i enter twrp, it’s not responding, it’s not responding to any key press, and any touch,
Can you tell me how can i o to install supersu?
August 26, 2016 @ 19:43
didn’t work for me… did EXCATLY what said, when i plug in the phone, it does nothing…
August 27, 2016 @ 02:53
Sounds like a USB Driver issue. Try downloading the drivers for your device from another source online.