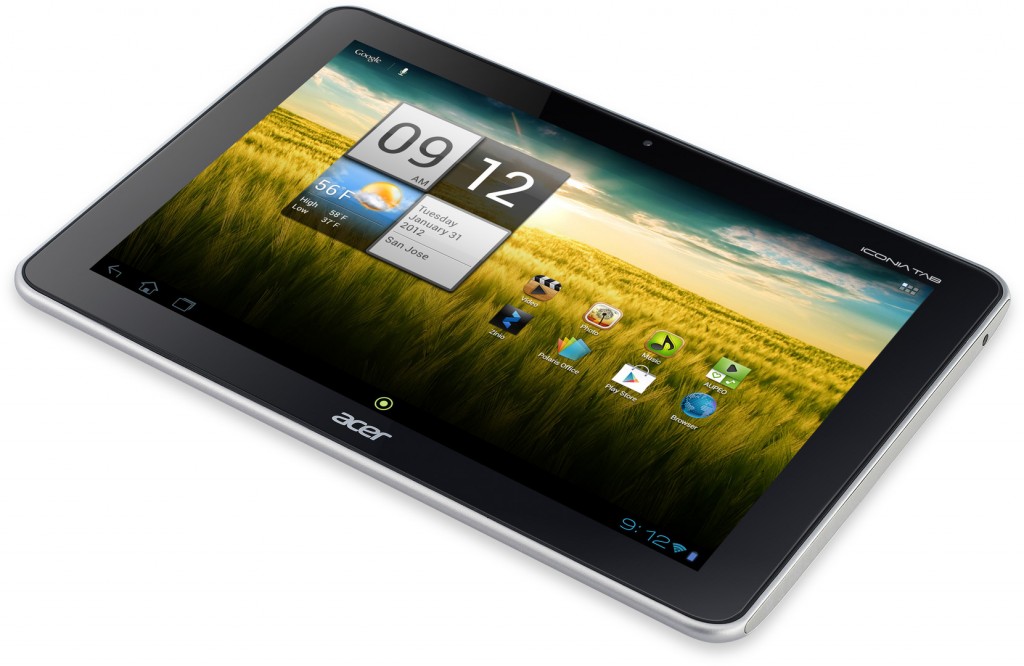
These are the guidelines to install TWRP recovery on the Acer Iconia Tab tablet using the TWRP Manager application directly from the Google Play Store on your device. The TWRP Manager application is always a popular way of installing the custom recovery. Not everyone uses the app because the application doesn’t have a way of installing the recovery on every device out there. It does, however, offer a solution for installing a custom recovery on most Android devices that are worth installing a custom recovery on. The app is also not available for every version of a device that is on the list. One example of what I mean is the TWRP available for the Samsung Galaxy Alpha. That doesn’t mean you can install it on every Galaxy Alpha out there. I have the SM-G850W and it comes with the Snapdragon processor, which is not available, whereas the rest of the Galaxy Alpha’s with the Exynos processors are on the list. That’s pretty bad luck though since out of five or more model number the one I had was the only one not on the list.
The only downside of using the TWRP Manager application is that it requires you to root your device first and that’s mainly the reason it is not an option for every device.
Files You Need
- You must root the Acer Iconia Tab before you can install a custom recovery on the device using this guide.
- Most devices need to have a bootloader unlocked before they can have a custom recovery installed. Check if your device needs the bootloader unlocked before continuing.
- Installing a custom recovery on Android always voids the warranty. You may always install the stock recovery after flashing a custom recovery and the warranty works again.
- Downkload the TWRP Manager application directly from the Google Play Store on your device from here.
Flashing the TWRP recovery on the Acer Iconia Tab
- Tap on the “Device Info” button and scroll down the list until you can see your device.
- Tap on the recovery version to install.
- Tap on the ‘Install Recovery’ button directly beneath the recovery version.
- Wait for a few minutes until it finishes installing the custom recovery on your device.
In conclusion, that’s how to install TWRP Recovery on the Acer Iconia Tab device. When you have tapped on the TWRP button and it starts downloading to your device, it will ask you to verify the partition before it flashes. We recommend everyone does check the partition matches up to avoid any soft-brick situations. The developers do state that if you are using the incorrect partition that it can mean your device will get bricked.