If you are starting to suffer from high memory problems when using Windows 10, they can plague your computer, for some while in fact, until you find the source of the problem.
Every time you run an application or program of any type on the Windows 10 operating system, it will need to use at least a little bit of memory before that process can take place. I guess it’s not a bad time to bring up Newton’s third law of for every action there is a reaction. In this instance, the action of a process is the reaction of the hardware, and in particular, the RAM or memory.
The way the operating system is designed, Windows should release whatever memory was being used once the application is closed. That way when you open an application, it uses the required memory, and when you close that same application, the memory that was being used gets thrown back into the overall amount of memory your computer has available to be used, and it can then be shared among something else. Or you can keep it free, and that’ll also have its benefits, such as reducing the stress on the hardware. Things don’t always work that way though: when you have a memory leak, for example, you may find that you don’t get any of that RAM freed up after having closed an application, or you may find that not all of the memory is being given back to be used again. If that happens, you’ll continually have high memory usage issues that then put stress on your computer’s hardware, stopping you from running programs with optimum performance as well as just overall potentially overworking the hardware which may result in your computer not lasting as long as it otherwise would have.
As you can tell, the problems that can arise from memory issues can be big ones and so it’s important you know how to tackle them. Over the course of time it has gotten easier and easier to try to troubleshoot, but never has it been as easy as when the Windows Memory Diagnostics Tools arrived. Now all you need to do, hopefully, is run the tool and let Windows diagnose the problem and apply the solutions for you. Like with most of Windows’ tools, it won’t be a perfect fix for every situation, but with a bit of luck, it will be all you need to solve your memory woes.
How to Run Windows Memory Diagnostics Tool in Windows 10
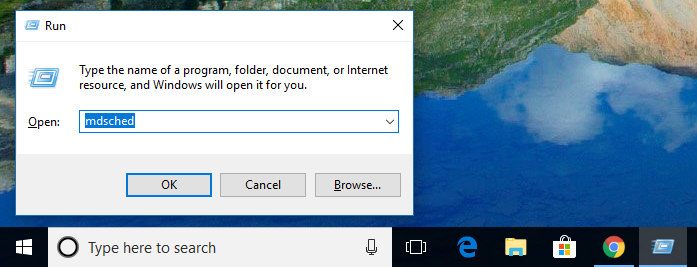
You can run the Windows Memory Diagnostics Tool in Windows 10 by either opening up the Run dialog box or the Command Prompt at boot. Whatever you have chosen, you need to enter the same command, which is “mdsched” and then hit the “OK” button if you did it from the Run dialog or “Enter” on your keyboard if you did it from the Command Prompt at boot.
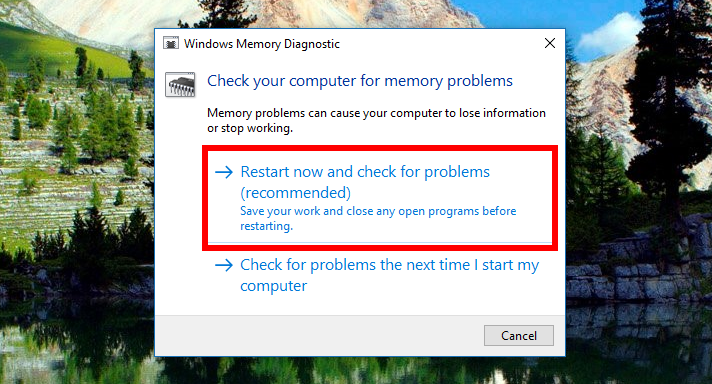
You’ll then see the Windows Memory Diagnostic window open with a couple of options present. Click on the one that says “Restart now and check for problems (recommended)” on it and then wait for your computer to reboot. When it does, it’ll boot up with the Windows Memory Diagnostics Tool showing up on your computer’s display.
The Windows Memory Diagnostics Tool comes with different “Test mix” options as well as “Cache” options. The default setting for these is “standard” and “default” respectively. If you want to change the settings over to any of the other options, you need to press the “F1” key to move the cursor up and down and the “Tab” key to select them.
Once you’ve started the test using your set of options, just wait for it to complete and then the computer will reboot itself automatically. When it does, you’ll then have the normal Windows 10 operating system booting up again. If you didn’t get your desired results, just follow the steps again to boot into the Windows Memory Diagnostics Tool and try some different options.
You might also be interested in:
- Bypass Paywalls with Anti-Paywall for Chrome and Firefox
- Download Photos Add-On for Photos App in Windows 10
- GlassWire 2.0 Launched: VirusTotal Support, Detects “Evil Twin” Attacks, and More
- Windows 10 Insider Preview Fast/Skip Build 17046 for PC Announced
You can subscribe to our RSS, follow us on Twitter or like our Facebook page to keep on consuming more tech.