Most of the time you use Windows 10, it should work smoothly and without issues. If there does come a time that you experience problems, it might come down to application and system crashes. Sometimes due to not necessarily any fault of your own, system files can become corrupted or damage can occur. Those are the times when you might experience system or app crashes.
If you do come across a system file crash, you’ll likely be seeing the blue screen with a sad face on it, and a message that reads something along the lines of “Your PC ran into a problem and needs to restart. We’re just collecting some error information, and then we’ll restart the computer for you.” That is known as a modern-day “Blue Screen of Death.” It isn’t as serious of a situation as it used to be, but you still might want to run an SFC command to repair the problem just in case Windows 10 wasn’t able to fix it for you, or if you keep experiencing the same problem repeatedly.
Here’s what you need to run the SFC command to repair your computers system files when you’re using a version of the Windows 10 operating system.
How to Run SFC /SCANNOW Command From Command Prompt
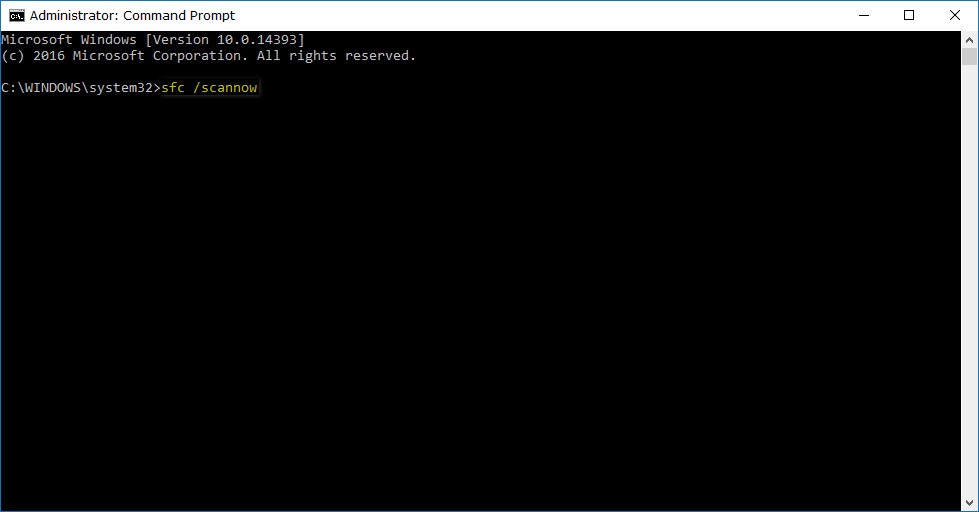
You can run an SFC scan using the Command Prompt with administrative rights or the Windows PowerShell with the administrative rights. The SFC scan checks the integrity of all system files. If it finds a fault, it will replace the faulty version with official replacements from Microsoft that don’t have any issues. To get started, open an elevated Command Prompt window and then type “sfc /scannow and hit the Enter key on your keyboards.
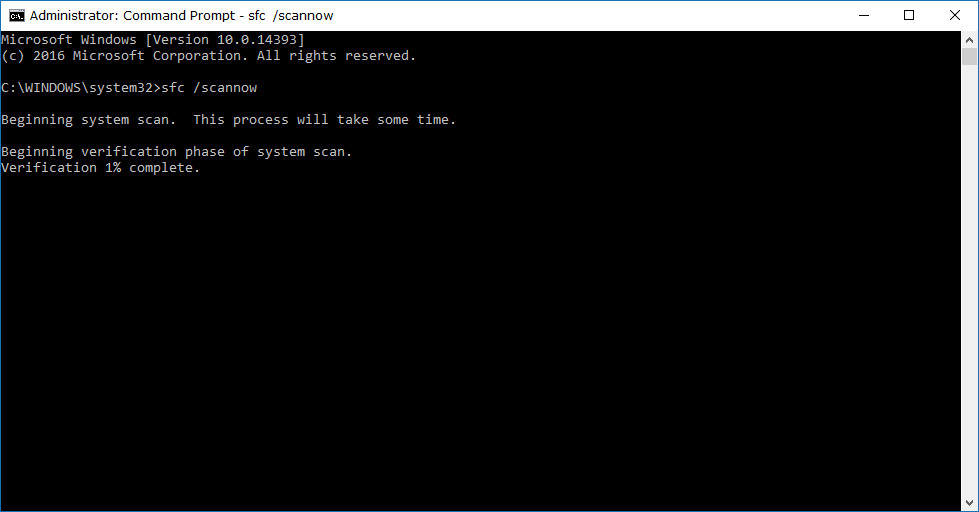
The Command Prompt window that is open will then let you know that the scan is underway and that the “process will take some time.” It should be finished in about five minutes on average.
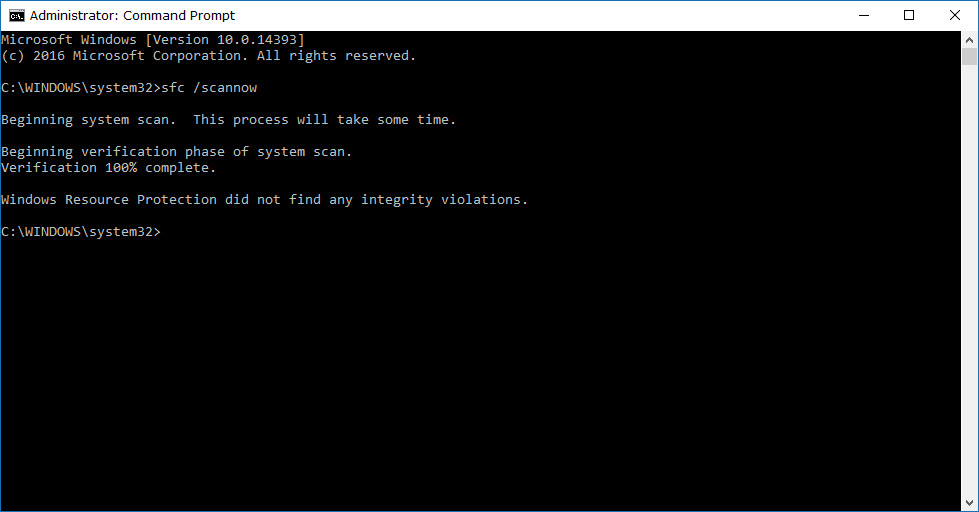
Wait until you get the “verification complete” message from the Command Prompt window. It also lists the results of the scan and lets you know if it did find any integrity violations or if it didn’t.
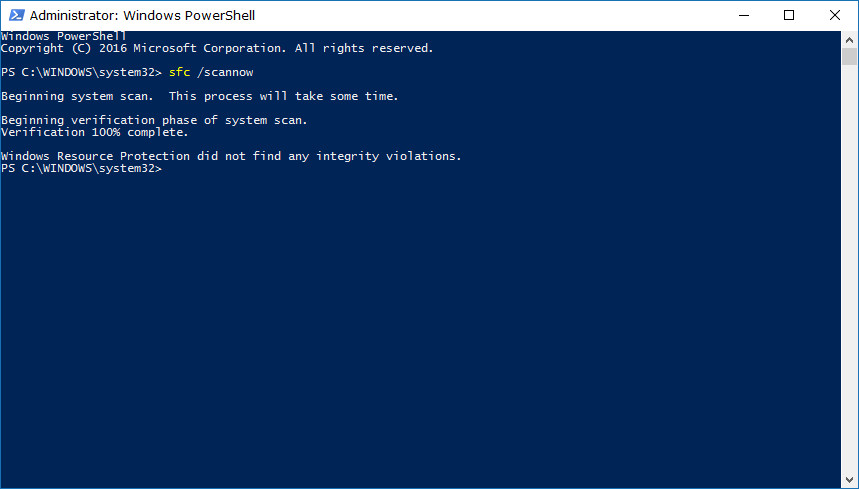
How to Run SFC /SCANNOW Command From Windows PowerShell
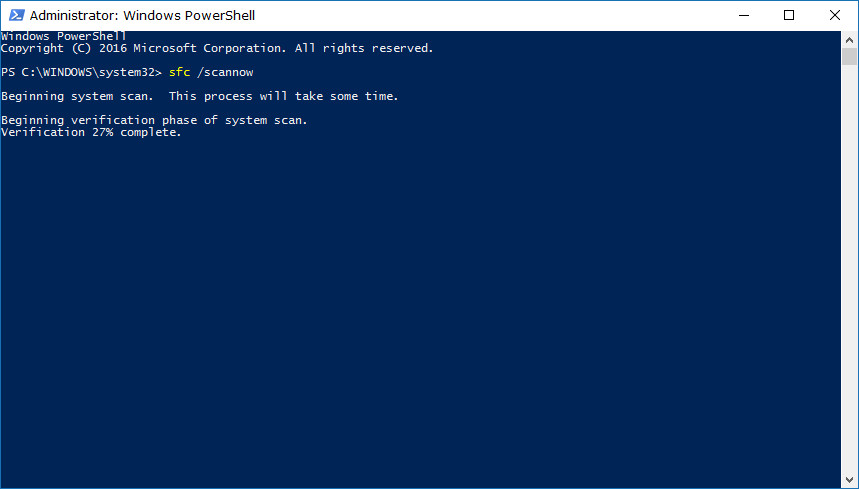
The Windows PowerShell is a more powerful place than the Command Prompt, but sometimes you can run the same commands from the command line. This is one of those times when both are possible Still if you prefer using the PowerShell, you can also do that. You can also do it by opening an elevated Windows PowerShell window and then type the same “sfc /scannow” command and hit the Enter key on your keyboards to begin running the scan.

Just like with the command line, it takes a few minutes to complete and lets you know that on the screen. Just wait until it finishes scanning and don’t touch anything in the mean time.
The Windows PowerShell will let you know if it finds any integrity violations or if it doesn’t when the scan is complete.
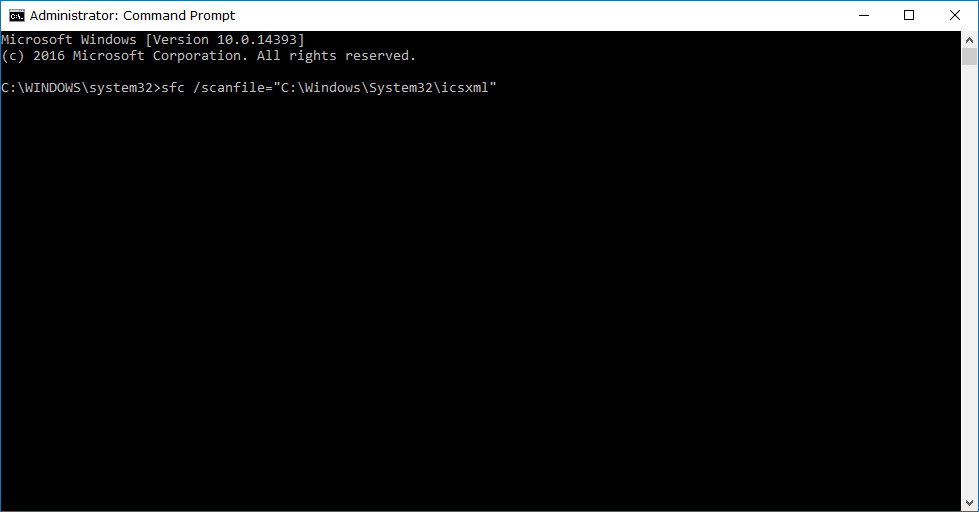
How to Run SFC /SCANFILE Command
Running the “scan file” command only scans the integrity of a single file and not all system files. Thus, this solution is a lot quicker than performing the full scan. The only thing is you need to know the path of the file on the computer that you want to scan. If you can’t come up with that information, then you should always run the full scan using the first part of the guide above. On the other hand, if you do know the file’s path—for example, C:/System32/file—then you can use this part of the guide to just scan that individual file.
If you have run one of the SFC scans—regardless of which options you chose to do it—and the scan didn’t pick up any issues but you know there is one, try rerunning the scan. Sometimes an SFC scan takes two or three scans before it finds the problem and fixes it.
You might also be interested in:
- How to Open and Use Disk Cleanup in Windows 10
- How to Delete System Restore Points in Windows 10
- How to Change Windows Default Sounds in Windows 10
- How to Restore Default Apps for File Extension Type Associations in Windows 10
You can subscribe to our RSS, follow us on Twitter or like our Facebook page to keep on consuming more tech.