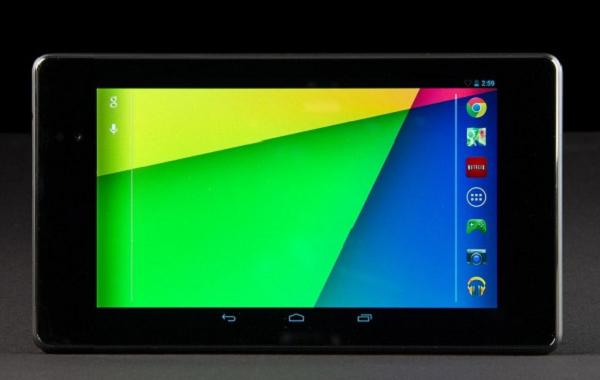
If you want a neat tablet with High pixel density over 300ppi, Quad core processor, HDMI connector, NFC, Lots of RAM, Fast 4G mobile data support and could live with not having flash built-in to the camera and no MicroSD card for expandable storage, then the soon to be last years model of the nexus 7 device is a fantastic choice for you. Assuming you’ve bought it already, now’s the perfect time to unchain the operating system and open up the internal system after updating the software package.
As you know, the Google Nexus 7 is last year’s tablet by the Mountain View company that is about to be overtaken by its successor in the Nexus 9. In just a few short weeks time, the new Nexus range consisting of the flagship smartphone that is more top-end this year, and the flagship tablet under the Google name is finally coming out for the official unveiling. As we so often see, once devices are launched so is the fresh software for the year to go along with it. Unless you have been living under a rock, you’d know that heading into 2015 is the time for Android 5.0 Lollipop.
Droid fans always say that if you own anything under the nexus range and you don’t give it root access you aren’t doing it right. We know these handsets are heavily customizable and a great choice for installing custom ROMs and custom firmware. In this instance since the official software isn’t rolling out OTA yet, we are using the system image provided to us by the real team out of the Googleplex.
Firstly, since there is a lot to remember, we want to fill you in on a few essentials before starting. Make sure you backup the phone contacts, market apps, music files, SMS texts, video and pictures from the gallery using one of the many choices available from the Google Play Store. We prefer to go with helium for Android. Those of you with root access already will want to take a NANDroid backup instead. Furthermore, the best app to make copies of the texts is SMS backup +.
Additionally, make sure you stop over at the Developer Options menu and enable USB Debugging Mode on your tablet. Once that is taken care of, you can download and install the official USB Drivers.
Since we are not using Odin like we do with the usual flashing of files, you can use a Mac OS Z or Linux unit this time. We are not restricted to the Microsoft Windows OS. Furthermore, you should appreciate that you must have Android SDK pre-installed before starting the steps. We must use this the same way we always flash our nexus range.
Connectivity options for the Nexus 7 include Bluetooth 4.0, WiFi 802.11 a, b, g, n, n 5GHz, USB 2.0, USB mass Storage Device and USB Charging. The latter we are taking note of now since that means the device automatically starts charging the battery once it is plugged into the computer. That means you do not need to charge the battery beforehand. However, if you know this feature is not working for you, you must reserve around 505 of the power. Turn the tablet on and look at the battery icon from the status bar to see where the current level of charge is sitting and act accordingly.
The aforementioned tablet started off with Android 4.3 out of the box and was updated to Android 4.4, 4.4.2, 4.4.3 and lastly 4.4.4 KitKat, However, you must have the Lollipop under the 5.0 build to use this guide or else it does not work and you can soft-brick the device.
How to root the Google Nexus 7 2013 on Android 5.0 Lollipop
- Turn the computer, notebook and laptop on and log in to your user account.
- Download the boot image from this link.
- Download the root file here.
- Fetch the USB cable and plug it into the USB slot.
- Go to the command line (type CMD into the run box for Windows users)
- Open the Android SDK folder.
- Press the shift key and click in the blank space.
- From the command prompt type “adb reboot bootloader”
- Watch as the device run in bootloader mode.
- Next enter the following: “fastboot flash boot boot.img”
- Do not touch any buttons until it finishes the installation.
- Select the Recovery Mode option from the bootloader and select “install”.
- You will be presented with on-screen instructions from this point.
- Follow what it tells you to do and finish up with the flashing of the root file.
- Go back to the main recovery screen and select “reboot system now”