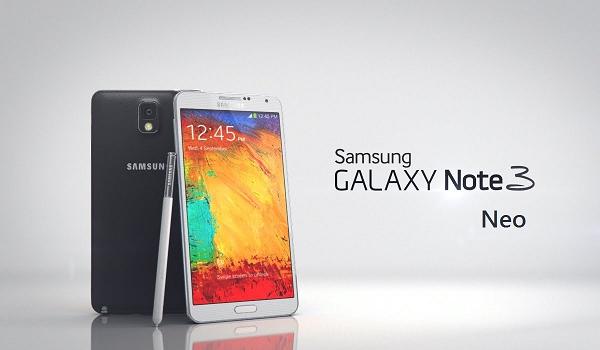
The Samsung Galaxy Note 3 Neo international model is receiving a new dose of Android 4.4.2 KitKat over the air, namely XXUCNG6 and today we’ll show you how to install the file manually so you can skip the waiting line. As always, the notification arrives in people’s inboxes in phases and there’s no telling exactly when that time will come for you. Furthermore, if you aren’t positioned in the correct area for the OTA the file won’t make it to you anyhow. Those owners have no choice, but to use the manual guide like we have here if they want to be running the latest version of Kitkat available.
- Anybody can get in on the action and install the file here, whether you have root access already or if you are running a previous version of stock software. You should know that it won’t come to you OTA if the operating system is unchained so this is the only way to have the software. Moreover, installing the stock software over the root access will result in locking the smartphone up again. Not to worry though, because there is likely a guide ready and waiting that will teach you how to unchain the OS on the new firmware version after you finish here.
- Correspondingly, any custom recovery image that was working will be erased after the steps. All things relating to the custom work will be gone until replaced once again in your own time.
- The tutorial we present to you today is created using the Odin too. Odin is an application that works for laptops, notebooks and desktop PCs that use Windows for the OS. Any OS from WIndows Xp through to Windows 8 will suffice. However, do not try and use the tutorial for Linux or Mac OS X machines because it won’t work. Firmware can be flashed on the other types of computer, but not using the Odin application made by official Samsung Developers.
- The Note 3 is well known for having a big display, high resolution display, Lots of RAM, fast 4G mobile data support, NFC and a high-resolution camera but what is doesn’t have is an everlasting battery. The good news is that we are plugged into the computer for most of the steps so as long as a USB charging is working the battery will last. However, if the USB charging feature is not working for you, make sure you have enough battery power to see you through to the end. We recommend at least 50% charge.
- Nothing is worse than losing your sensitive data. With that in mind make sure you backup the important data such as your contacts, photo galleries, text messages, video files and more. Flashing official software does not typically result in the loss of data, but if you are forced to perform a full factory reset the OS will be wiped. Therefore, it is paramount that you use the 11 GB maximum user storage internally to make copies. If that is not enough room there is additional space available by using the MicroSD, MicroSDHC or MicroSDXC storage expansion cards.
- If you struggle making copies of the market apps try using the Helium app from the Google Play store and see if that helps. Most people love using it because it creates an easy way for them to store the apps without having to download them all over again at a later date.
- Make sure the USB drivers are up to date and working. Failing to do so can result in the connection between program and smartphone impossible to reach. if you do notice any problem during the steps this is likely the place to come back and reassess.
- Alternatively, people can use Samsung Kies to have the USB drivers ready. However, make sure you disable the Kies utility before starting the steps so that it does not interfere with the program we use from the PC.
How to update the Samsung Galaxy Note 3 Neo with XXUCNG6 Android 4.4.2 KitKat official OTA firmware
1. Download the XXUCNG6 file from here.
2. Download the latest Odin 3.09 application here if you don’t have it already.
– store it on the C: Drive if you want to keep it.
– use the desktop if you want to delete it and download it again next time for us.
– have the Odin application working on the PC monitor for us to come back and use in a moment.
3. Find the USB cable that chargers your smartphone.
4. Turn the mobile device off. reboot it up in Download Mode.
– press Volume Down + Power + Home keys at the same time.
5. Connect the phone to the PC using the USB wire.
– only one end will fit in the device.
6. Watch the ID: COM port on the computer monitor light up and the word ‘added’ displayed on the screen.
– what I just mentioned means it is working and you can move on to the next step.
– if you did not find the program reacting this way its time to reinstall the USB drivers.
7. Press the AP button and upload the XXUCNG6 firmware zip file.
8. leave the default settings as they are. They will include the re-partition box unchecked, the Auto reboot checked and the F reset Time option checked.
9. press the start key when you are ready.
10. Wait up to ten minutes for the flashing to complete. Do not touch any buttons until it displays a ‘pass’ message on the screen.
11. Stop the USB Mass Storage device correctly by visiting the system tray icon, namely ‘safely remove hardware’.