The Windows Media Player is a favorite choice of many Windows users. It used to be the default video player for many years, which is why so many people have come to know it so well.
Windows Media Player allows you to play audio and video from a local computer or from the internet. Additionally, you can use WMP it organize your audio collections, sync digital media, shop online, and more. The latest version is the Windows Media Player 12. WMP 12 comes with two new features: streamlined playback modes and it plays more media in more places. The streamlined playback modes includes a minimalist Now Playing mode where you only get the features you need. There’s also a new taskbar thumbnail and playback controls to make previews easier. WMP 12 can play more media on more places, thanks to its expansion of video and audio formats that it supports.
While Windows 10 does come with the Windows Media Player 12, it is no longer the default media player. It has been replaced by the Movies & TV app for video files and the Groove Music app for music files. The Movies & TV app is a more modern video player application with better features that make it a more favorable option for most people to use over the older Windows Media Player.
Some people still use the Windows Media Player and set it as the default player, not realizing that the Movies & TV app is the new one that comes as default in Windows 10 and as the app that Microsoft is pushing for people to use now, while others want to continue using the Windows Media Player because they’re familiar with it for playing their music and video and don’t want to learn how to sync and do other things from a new video or music player.
We recommend making the switch to the Movies & TV app sooner rather than later because it’s got better features, and the Groove Music app is a delight to use as well. It can easily find and upload music from File Explorer and it only takes a few minutes to work out how to use. Groove Music also comes with great features such as cover art and is very reminiscent of a music player that you would find playing your tunes on a mobile operating system.
Method One: Install/Uninstall Windows Media Player in Settings
Here is how you can install and uninstall the Windows Media Player from the Settings application:
1. Open the Settings app.
2. Click on the Apps icon from the main Windows Settings menu.
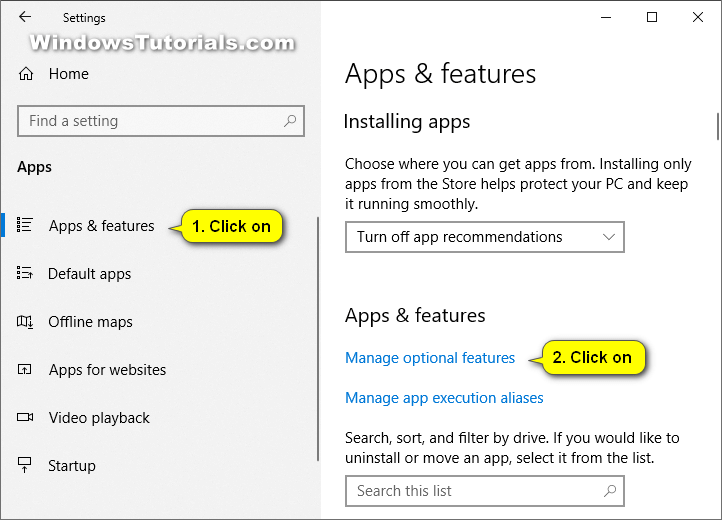
3. From Apps’ left side, click on Apps and features and then click on the Manage optional features under the Apps & features heading on the right side of the same window. (click to enlarge screenshot below)
4. To Install Windows Media Player in Windows 10
5. Under the Manage optional features heading, click on the Add a feature button.
6. Click on Windows Media Player and then click on the Install button.
7. To Uninstall Windows Media Player in Windows 10
8. Under the Manage option features heading, scroll down until you get to the Windows Media Player, click on it, and then click on the Uninstall button.
9. Wait for the Windows Media Player to be completely uninstalled.
You can now close the Settings app and continue using your computer.
Method Two: How to Turn On/Off Windows Media Player in Windows Features
1. Open the Control Panel (icons view) and click on the Programs and Features link, or open Run by pressing WIN + R and then type OptionalFeatures.exe and click OK.
2. From Programs and Features left side, click on the Turn Windows features on or off link.
3. To Turn On Windows Media Player in Windows 10
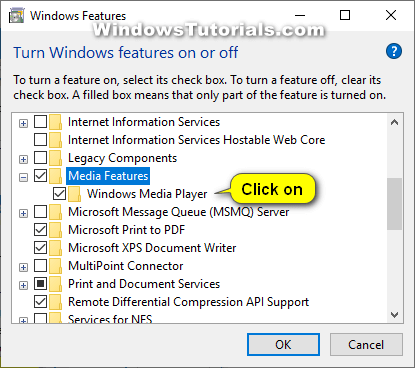
4. Click to expand Media Features, check the box next to the Windows Media Player option, and then click on the OK button.
5. To Turn Off Windows Media Player in Windows 10
6. Click to expand Media Features, uncheck the box next to the Windows Media Player option, and then click on the OK button.

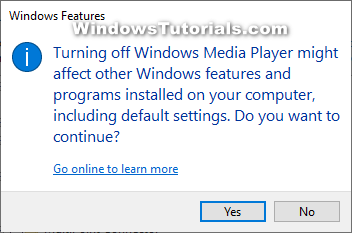
7. When Windows gives you a message letting you know that turning off some Windows feature may affect other Windows features, click on the Yes button to let it know you understand the risks.
Nothing will go wrong with your version of Windows; this message is with regards to some of the other features available and is just a universal message that it shows regardless of the feature that you’re turning off.
8. Click on the OK button from the Windows Features box to save the changes and close the window.
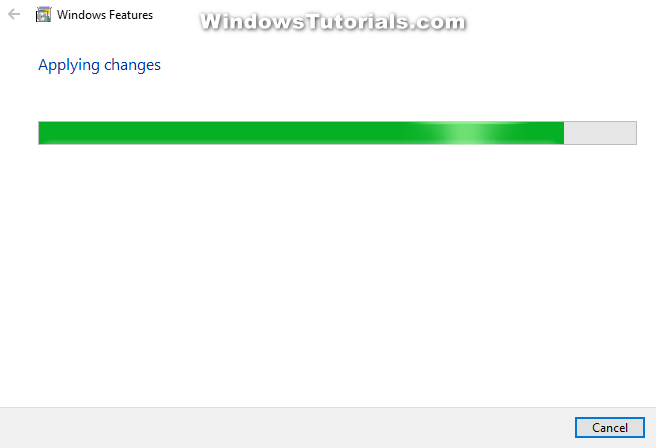
9. Wait for Windows to finish applying the changes.
You can now close the Control Panel window and continue using your computer.
Method Three: How to Turn On/Off Windows Media Player in PowerShell
Here is how you can turn the Windows Media Player on and off from the elevated version of the Windows PowerShell:
1. Open the elevated Windows PowerShell window.
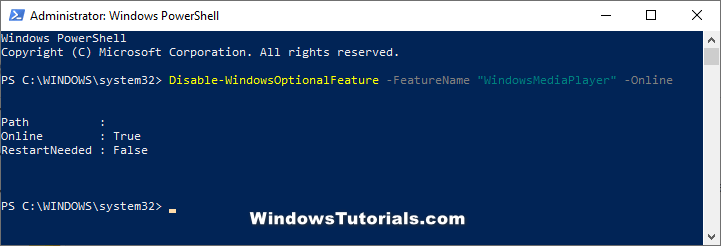
2. Type one of the two commands below, depending on what you want to achieve, and then press the Enter key on your keyboard to execute it. (click to enlarge screenshots below)
Turn on Windows Media Player:
Enable-WindowsOptionalFeature –FeatureName "WindowsMediaPlayer" -All -Online
OR
Turn off Windows Media Player:
Disable-WindowsOptionalFeature –FeatureName "WindowsMediaPlayer" -Online

You can now close the Windows PowerShell window and continue using your computer.