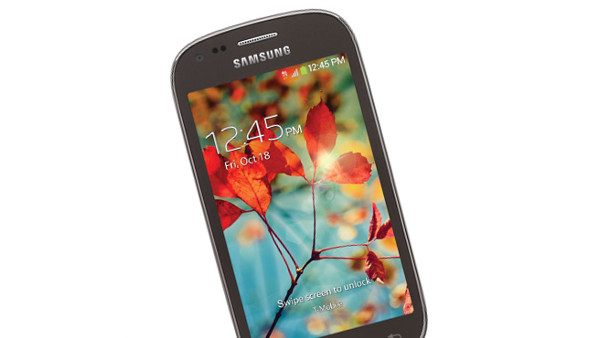
Many people are nervous about rooting the Samsung Galaxy Light smartphone. Those same people will never truly experience what it’s like to own a device and use it with pure freedom. A device always comes out of the box with limitations put in place by the manufacturer. In this instance that would be Samsung.
That’s nothing against Samsung, all of the manufacturers do the same thing. We don’t blame them for doing what they want with a device either. However, once we buy a device and own a device we too should have the freedom to do what we want with it. That equations can often get more complex with thinking about a phone plan. When we are on plans, we technically do not own the device. However, when you get root access to the internal file system by following a guide like this one, you void any warranty.
The Files You Need
- Download the TWRP recovery file from here.
- Download the SuperSU from here.
- Download the Odin flashing tool from here.
- These are the steps to root and install TWRP recovery on the Samsung galaxy Light smartphone by T-Mobile. Do not try flashing these files unless your device is a T-Mobile model number.
Rooting the Samsung Galaxy Light (T-Mobile)
- Download the Odin tool and the TWRP recovery to the desktop of the Windows computer.
- Right-click over the files and select the ‘extract here’ from the menu.
- Run the Odin tool by double-clicking over the executable file.
- Reboot the Samsung galaxy Light to download mode. Do that by switching it off, then reboot holding the Power + Home + Volume Down keys together.
- Keep pressing those three keys until you see the warning triangle on the display. Now press the Volume Up button.
- Connect the Galaxy Light to the computer using the USB cable.
- Click the PDA or AP button you can see in Odin and browse the computer for the TWRP recovery file.
- Click the Start button and flash that custom recovery on your device.
- Now transfer the SuperSU to the internal storage SD card.
- Unplug the Galaxy Light from the computer.
- Reboot to recovery mode by pressing the Power button for 10 seconds until the device is completely off. Now reboot holding the Home + Power + Volume Up buttons and select recovery from the menu.
- You should now be in the custom recovery mode that you just flashed earlier.
- Select install from the recovery menu and browse the SD card for the SuperSU file.
- Confirm you do want to install that SuperSU and wait until it flashes.
- Choose the Reboot System option from the recovery menu and you’re done.
- Now you can regain control of the Google account and access the Google Play Store. The first app you might want to install is the root checker app.