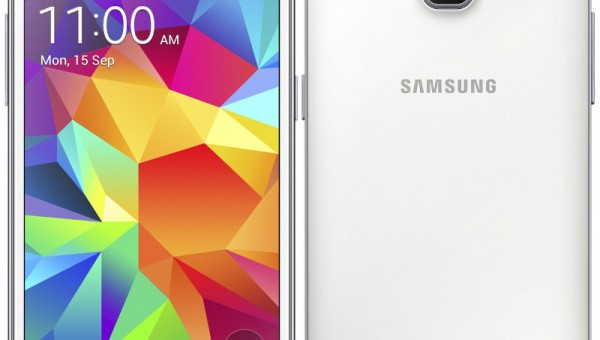
By now you’ve probably all heard of rooting the Samsung Galaxy Core Prime. Just like most other Android devices, the Core Prime can be tweaked so the operating system is unchained away from the factory restrictions. Rooting is sometimes necessary to flash custom ROMs and custom kernels on a device.
However, that’s generally not the case, and you can usually install your custom ROMs after installing a custom recovery. You’ll need to check what ROM you are installing for with it needs. The most common reason to root an Android device is to install more apps. These apps are most commonly found from the developer websites as APK file, the Google Play Store or other trusted app sources like App Brain.

Files You Need
- Download the KingRoot app for your Core Prime device from its XDA Developers thread here.
- The following method is tested as working for those of you running Android 4.4.4 KitKat. It is not tested for the latest versions of Lollipop. That’s not to say it won’t work on Lollipop, and if it isn’t working, we assume the KingRoot team will update it to work on Lollipop soon. Otherwise you can always downgrade to Android 4.4.4 KitKat by flashing the Android 4.4.4 stock ROM on your device using the Odin flashing tool and a Windows PC.
- These are the steps to root the Samsung Galaxy Core Prime without a PC. You can use a computer to transfer the file, or just install the APK direct on your device. We are giving the full steps to transfer the APK file from a computer because it’s the safest and recommended method.
Rooting the Samsung Galaxy Core Prime SM-G360G
- Make sure you have the Unknown Sources option enabled on the Samsung Galaxy Core Prime. You find it by pointing to the Menu > Settings > Security > Unknown Sources.
- Download the KingRoot app directly to the computer and have it on the desktop.
- Connect the Galaxy Core prime G360G to the computer using a USB cable.
- Copy the KingRoot APK file over to the internal SD card storage.
- Unplug the Galaxy G360G from the computer and the USB cable.
- Open one of your File managers and install the APK just like you would any other on your device.
– read also: how to install APK files on Android devices - Tap the KingRoot app when it is installed on your device.
- Tap the Try To Root or Get Root button from the apps main page.
- Wait as the KingRoot servers ping back a response for a working method for your G360G device.
- Do not touch any buttons until you get the “success!” message on the display.
- Exit the universal one-click app and reboot your Galaxy Core Prime device like you normally would.
- Once the device reboots, you should be rooted and can check that by installing the root checker app. Open the root checker app from your app drawer and check what it says.
You are ready to open the Google Play Store and start installing your root-requiring apps like the BusyBox application.