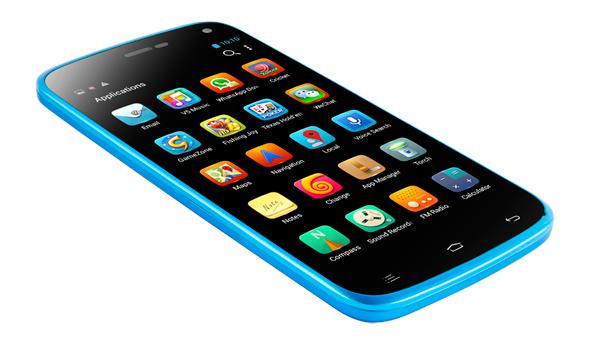
These are the guidelines to root the Gionee Elife E3 smartphone using the MotoChopper tool.
The MotoChopper method is known to root many devices, including one of the Motorola Moto X smartphones up until recent updates.
Files You Need
- Download the MotoChopper rooting exploit for your E3 smartphone from this page.
- Download your universal ADB Driver for the computer from this page.
- You must have a Windows PC to use the tools in this guide. They won’t work running on a Linux, Ubuntu or a Mac operating system.
- You are choosing to void the Gionee warranty by rooting the Elife E3 smartphone. You can flash the stock ROM or unroot any other way you can find to get the warranty working again.
Rooting the Gionee Elife E3
- Download and install the universal ADB Driver on your Windows computer before doing anything else.
- Download the Motochopper file directly to the computer and transfer it over to the desktop. Extract the MotoChopper zip file once you have it on the desktop by right-clicking over the file and selecting the “extract here” from the menu.
- Double-click on the rub.bat file that comes out after you extract the zip file on the desktop. Your rooting program should open.
- Connect the Gionee Elife E3 smartphone to the computer using the USB cable.
- Follow the commands on the display coming from your rooting program and finish the guide.
- Once complete, make sure you reboot the Gionee handset before you do anything else.
- Once your Elife smartphone reboots, open your Google Play Store application and agree to download and install the basic root checker app.
- Open the basic root checker app from the app drawer and look out for any updates it needs. Agree to any of the updates such as granting Superuser access or updating the binary.
Now that you have rooted your Elife 3 device, you can check out the guide for learning how to install a custom recovery on the Gionee Elife 3 smartphone. The custom recovery allows you to start taking complete backups for the first time without adb commands and a computer. We do this by tapping on the backup button you can see from the main screen within the new custom recovery. You might know the name already as a NANDroid backup. Furthermore, a custom recovery — whether it be any of the main recoveries such as TWRP, CWM or Philz Touch recovery — can give you the chance to install custom ROMs. As devices like the Elife 3 start to age, you can expect some custom ROms to become available if the device is popular enough.