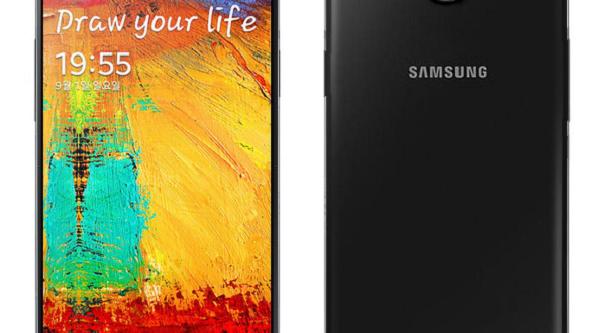
This particular version of the Note 3 has the model number of SM-N900W8 and is distributed throughout Canada.
It only is sold for Canadians and this is the way you want to get root if you want an experience that is as close to stock as possible. We like this idea because it will result in more reliability and better performance just like you would expect to get from an official stock firmware that is released by Android.
Details of Note
- Using this guide will trip Knox if you have a Knox enabled device and it will void all warranty’s.
- We love the CF root tool because it gives a safe experience and it is well-tested on many devices before coming out. The tool is widely used on many different devices, but they all come with a different version. This package is only to be used on the galaxy Note 3 SM-N900W8 and no other or else it can brick the device or cause damage. It also won’t work so there is no point trying it.
- Download and install the suitable Samsung Galaxy USB drivers from here.
- Backup all personal data by syncing with Samsung Kies, Google Play applications, internal storage or external options such as the Micro SD card that can be bought from electronic stores. It also doubles as some handy extra storage space if you run out of GB’s to use on the device.
- We at the Mobicuppa team are not liable or responsible for the damages that you did to your device by following our guides. We do our best to strive for excellence and provide all of your viewers with the best advice as we see fit. However, nothing is guaranteed.
- Many blogs recommend having a certain amount of battery charges such as 80%. However, this device charges automatically when plugged into the computer with a USB cable so we do not see any point to this.
- Make sure you are using a Canadian carrier such as Bell, Rogers, Baka and Wind
Using Chainfire’s CF Auto Root To Root The Samsung Galaxy Note 3 SM-N900W8
1. Download the CF-Auto-root tool here.
2. Extract the contents of the file including the ODIN package inside. That is a tool we will be using to get the root done successfully.
3. After you have found ODIN, run it with administrator permissions.
4. Press and hold VolDown+Home+Power when the device is off to enter Download Mode.
5. In ODIN click the PDA button.
6. Upload the .tar.md5 file.
7. Press the Start button to begin flashing a modified recovery and cache partition. It will then install SuperSU.
8. Wait for the “pass” message to appear inside ODIN. It is letting you know that the root has been successful.
9. Close down the ODIN applications so it is no longer running on your Windows PC.
10. Right click the safely remove hardware icon in the Windows taskbar and stop the USB mass storage device.
11. Wait until it says it is now safe to remove the device and unplug the USB cable from the computer and Samsung Galaxy Note 3.
That’s all.