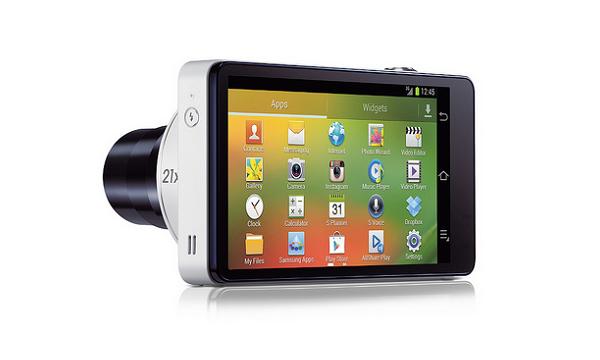
Samsung released its new Galaxy Camera with 4 inch display and a very new twist – it has Android 4.2 Jelly Bean installed on it, so you can take photos and share on social imaging right away. You can also transfer them to your PC using Bluetooth or WiFi. There is only one restriction with this device as you can’t make call with it. As if you have one, then you will be happy to hear that your Galaxy Camera will now can have root access. Using root access you can install and use Disk Digger app available on Google Play Store. Using this app you can restore your accidentally deleted photos. In this tutorial I’ll tell you to root your Samsung Galaxy Camera using a very safe method. Stay tuned and read all parts of this article so you won’t be ended with messing up your device.
This process of rooting is not recommended by Samsung or Google. Rooting your device is not legal as well as risky procedure so do not skip any part of this article or you will be ended up bricking your device. Rooting your device also voids your device’s warranty, so next time when you take your phone to care center, you will be charged for that.
You probably do not know that this is a risky process so to be on the safe side, do backup your device’s stored data so if anything goes wrong, you won’t lose your important data and photos. You can back up your data by making a copy on your PC or any other external drive. Making this backup is important, you can’t blame us if you lose any of your data as I already warned you.
Details of Note
- Now for some preparations you need a windows based PC. You have to install Samsung USB drivers on your PC before performing this operation with your device. To install drivers download and install Samsung Kies on your PC, this will install USB drivers to your PC automatically. Disable all types of security related software on your PC like antivirus or anti malware as it can restrict this process and this may brick your device.
- To ready your phone you should enable USB debugging mode by going to settings > security > enable USB debugging option. This step is important, without this your PC won’t detect your device. Also charge your device to 75% battery so your device won’t lose power during this process because if this happens your device may get hard bricked.
- Now you are all set to root your Samsung Galaxy Camera and set your device free.
Steps to Root Samsung Galaxy Camera
- Download CF Auto Root zip file from here, save it anywhere on your PC where you can find it easily.
- Extract this CF Auto Root zip file to your PC desktop.
- Now download Odin for your device from here. Extract this zip file also to your PC desktop.
- Now reboot your Galaxy Camera to download mode by turning your device off completely and power it on by the pressing power key, zoom out key and camera key together.
- Now launch Odin on your PC (the zip file you downloaded and extracted in step 3).
- Connect your Galaxy Camera to your PC via USB cable, when you see “added” message to Odin then your device will be connected to Odin (if not, then you should install USB drivers again to your PC).
- Now on Odin click on “PDA”, browse your PC and select “CF-Auto-Root-gd1-ekgc100.tar.md5” file (file extracted from the zip file downloaded in step one).
- DO NOT change any setting on Odin and click on “start”.
- After some time Odin will display “PASS” message and that means your device has been rooted successfully and your Galaxy camera will restart automatically.
- Now unplug your device and let it boot and now your device has been rooted.
If Odin says “Fail” that means your device is not successfully gained root access. Now you can force a reboot (shut it down by removing the battery) your device to download mode and repeat this process again. If this won’t help read this article again and notice what you are skipping. If this won’t work then you can post your reply in the comment section below.
Do share and like this article so more other like you will get benefited with this. You can also post any query about this tutorial to comment section below, i will make sure to reply you ASAP.