If you own a Nexus i9250 you may be aware of the Android 4.2 update that was just rolled out for the device. If you have upgraded to the Android 4.2 jelly Bean firmware then you may be looking to re-root your device.
Once you complete the rooting process you will be greeted with many benefits for the mobile, such as the ability to install custom ROMs, gain full control of your Android device and one that many people don’t know about, back up and restore your data.
Details of Note
- Make sure you have the Samsung Galaxy Nexus I9250 USB drivers. It is possible you have this already if you use the device regularly, in which case you can skip this step. This is necessary to connect the device to the computer, in order to upgrade the official firmware.
- You will also need to have USB debugging mode enabled in order to complete this guide. You can follow the link that I provided and find out how to do that if you don’t know already.
Before you get started on the root process make sure you have the following prerequisites:
– You must use a Windows PC for the following root guide.
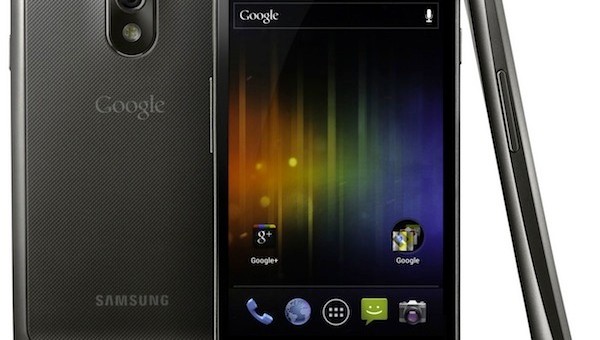
– You must own a Samsung Galaxy Nexus i9250
– Have developer options enabled for the Android 4.2 jelly Bean update.
– Make sure the Nexus i9250 has at least 50% battery charge to make sure we don’t encounter any avoidable problems.
Rooting the Galaxy Nexus i9250 On Android 4.2 Jelly Bean
Step 1. Download the Superuser-3.1.3-arm-signed.zi and recovery-clockwork-touch-6.0.1.4-maguro.img files.
Step 2. Enable USB debugging mode on your device.
Step 3. From the second file you downloaded in step 1 rename the CWM recovery-clockwork-touch-6.0.1.4-maguro.img to recovery.img.
Step 4. Copy recovery.img into the fasboot folder. You can find this folder here: C:fastboot.
Step 5. Connect the Samsung Galaxy Nexus i9250 to the PC with the USB cable that came with the device.
Step 6. From the Superuser-3.1.3-arm-signed.zip which you downloaded first in step 1, copy it into your devices internal SD card.
Step 7. Power down your device and reboot it into fast boot mode.
Step 8. From the Windows PC open up the command prompt. Click start, run or in search box type CMD to open the command prompt.
Step 9. In the command prompt type cd C:Fastboot then press enter. Next Type fastboot flash recovery recovery.img and press enter again.
Step 10. On the Android device press and hold Power + Volume Up and press volume down twice, then select the recovery option. This will now enter you into ClockworkMod recovery.
Step 11. Once you are inside ClockworkMod perform a Wipe Data/Factory Reset. The volume keys let you navigate to this.
Step 12. select the install zip from sdcard, followed by choose zip from internal sdcard, from the recovery main menu. Open the folder and find Superuser-3.1.3-arm-signed.zip and click Yes to install.
Step 13. Wait patiently for it to finish installing. Once completed navigate back to Recovery main menu and Select reboot system now. Once the galaxy Nuxes i9250 running 4.2 Android jelly Bean has rebooted it will now be rooted.
If you are unsure of your devices root status, head over to the play store and download the root checker tool. This app will check if you have successfully rooted your device or not.