Nexus 7 has been a device for developers as well as for other users to try out the latest Jelly Bean OS and to perform tweaks on it. If you have rooted your Nexus 7 device, you must have loaded it with root-enabled apps as well as with custom ROMs. Trying out new ROMs seems to be an exciting task, as you can get a whole new feel on your device, just like you have bought a new device. On the other side, if the ROM installation process didn’t go well, you must be running into the problems and trying to come out of it. If the latter represents your situation, you should look for a way to get your device back to stock firmware. You can now install the stock firmware on your Nexus 7, the pure firmware without any customization and no tweaks.
To get your Nexus 7 back to stock, you have to follow the steps given below. Please make sure that the battery level of your device is full. Otherwise, it will cause problems during the process. Since the process will erase all the data on your device, you are recommended to take a backup of it. Documents, Music, Videos should be copied to your PC so you can quickly restore them to your device after the process finishes.

Following are the files you should be needing while getting back to the stock firmware as well as some other pre-requisites.
Pre-Requisites
- Make sure you have rooted your Nexus 7 tablet and has insecure Kernel installed on it.
- Along with a rooted device, you will require ADB with Fastboot installed on your computer.
- Download the Nexus 7 Factory Image [Official Google Link]
After you have downloaded the factory image, just follow the guide given below.
Steps to Getting your Nexus 7 Back to Stock
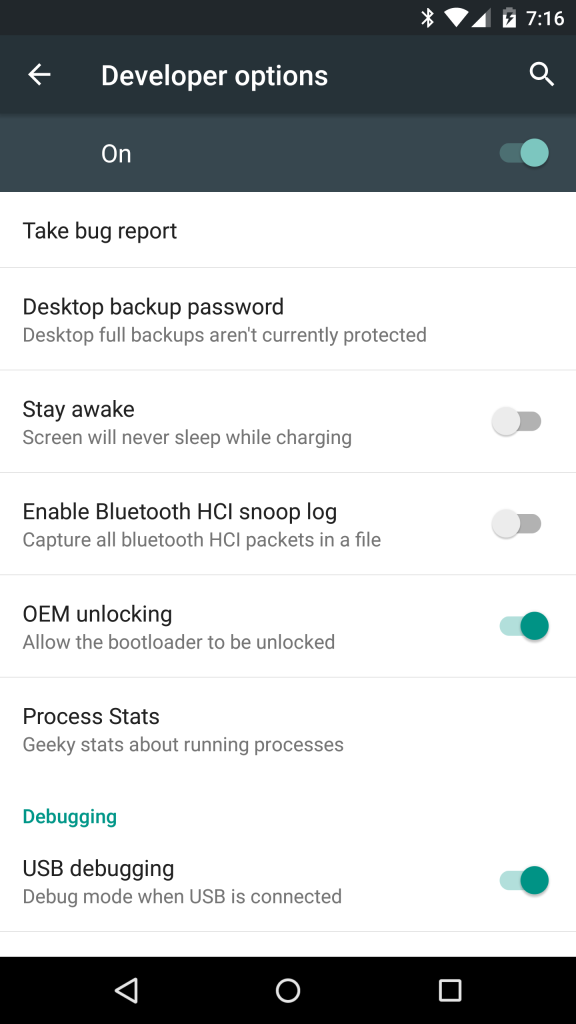
- Make sure that the ADB is working on your PC as we will be using it to flash the factory image to your device.
- The factory image you downloaded is in the compressed format. Using the tools like WinRAR, extract the actual image file from it to the ADB folder on your PC. The extracted file will have the extension as .img.
- Using the USB cable, connect your device to your PC.
- Open a Command Prompt Window in the ADB folder, it is the folder where adb.exe file is located, and type in the following command:
- adb reboot bootloader
- Your device will reboot into the bootloader mode. When it happens, just issue the following command to flash the image file.
- fastboot flash bootloader bootloader-grouper-3.34.img
- It will flash the file to your device, wait for a few minutes. After it has finished the file, issue the following command:
- fastboot reboot-bootloader
- Your device will again reboot into the bootloader mode. Type in the following command in the same Command Prompt window.
- fastboot -w update image-nakasi-jrn84d.zip
- Everything has just finished, type in the following command to reboot your tablet.
- fastboot reboot


You are now completely on the stock firmware based on Android 4.1 Jelly Bean. All those unmodified features are back on your device, the true ones!