Updates for Windows 10 happen in the background when you use the computer. So as long as your computer has enough processing power, you won’t even notice they are happening. The only time that isn’t true is when you sometimes go to shut down your computer, and the Windows OS gives you a message to shut down or install updates and then shutdown after the update completes. You can sometimes get caught out here because if you click update and shutdown and need to user your computer again, you then need to wait until the update completes. Windows still does not give you any idea of how long that update is going to take to complete, and thus the inconvenience happens for many people. It would be great to see Windows developers address that standard issue in future updates so we know how long the update is going to take. They could do this by showing a precise time estimation by the software and then we can choose whether it’s a good idea to install that update or wait for a later date when it’s more suitable.
Apart from that, the Windows updates that happen in the versions of the Windows 10 operating system are typically smooth sailing. One exception is if your update gets stuck mid install and there is nothing you can do about it—or so it would seem.
There is a way of it in most cases, and the guide below shows you how that is achieved.
How to Fix Windows Updates from Being Stuck Downloading Updates in Windows 10
1. Click the Search the web and Windows dialog box and type “Command Prompt.”

2. Right-click on the Command Prompt application and choose the “Run as administrator” option.

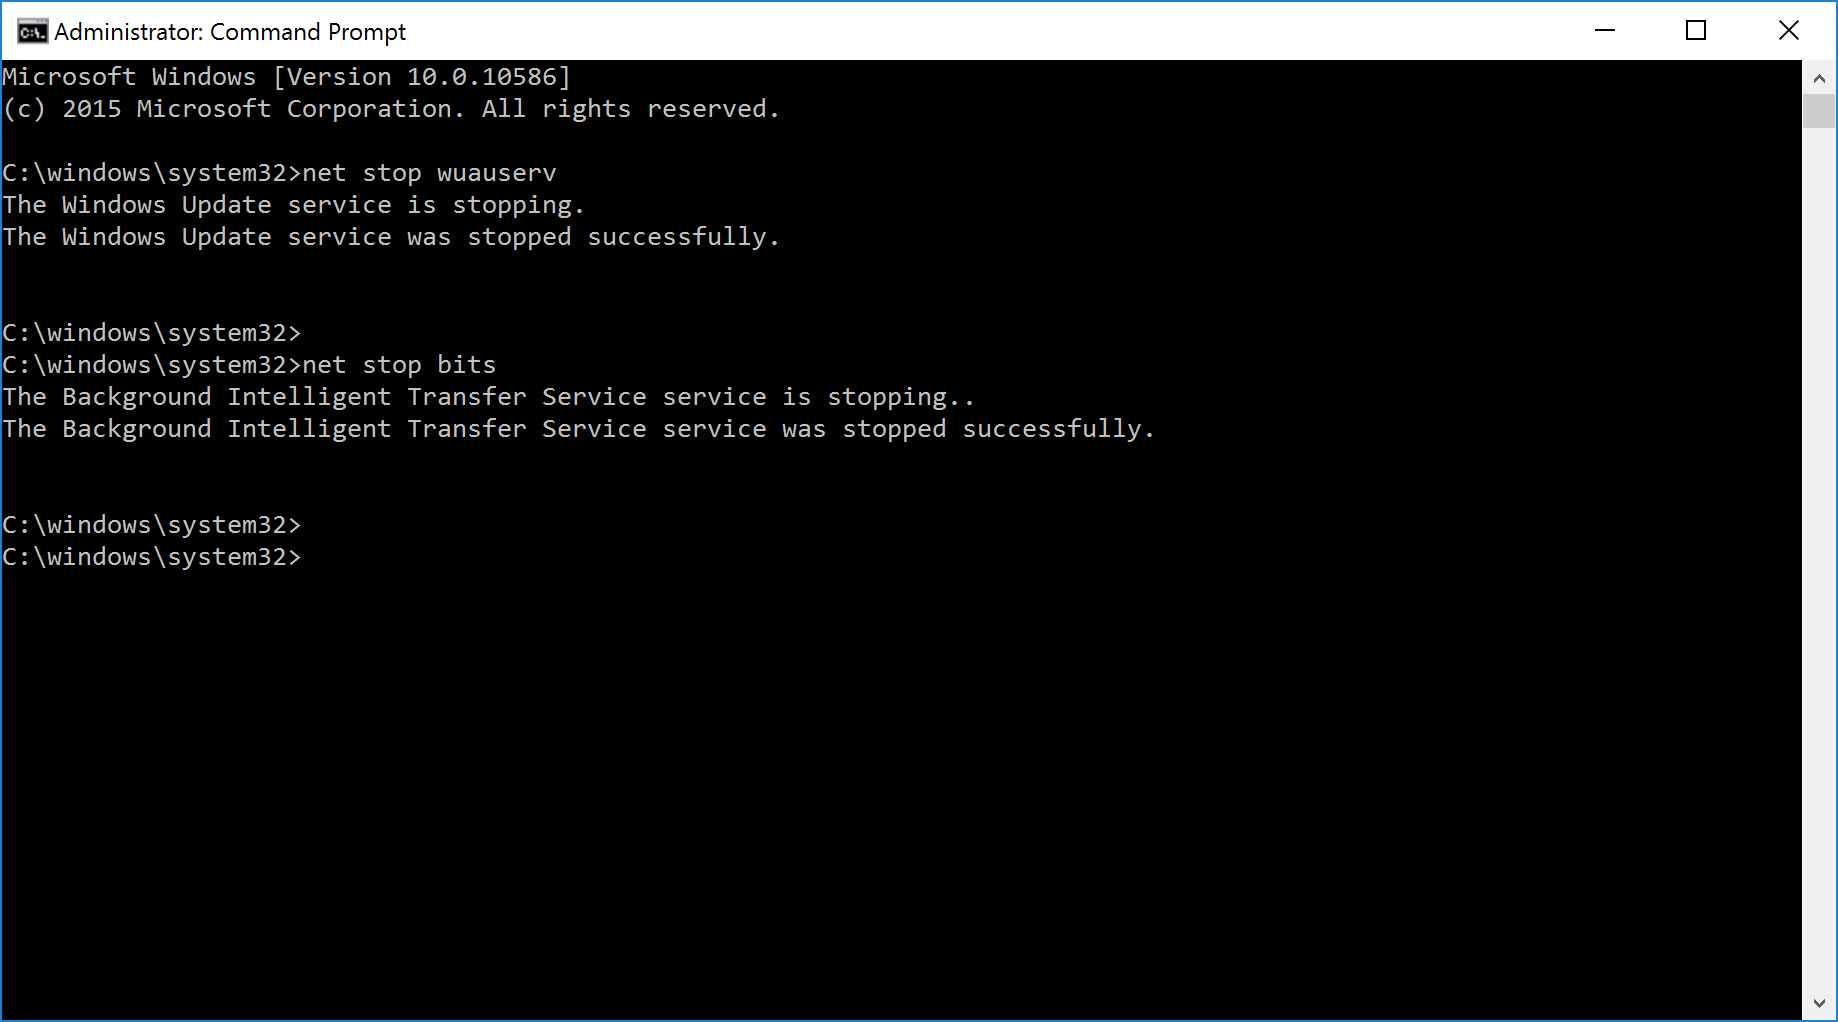
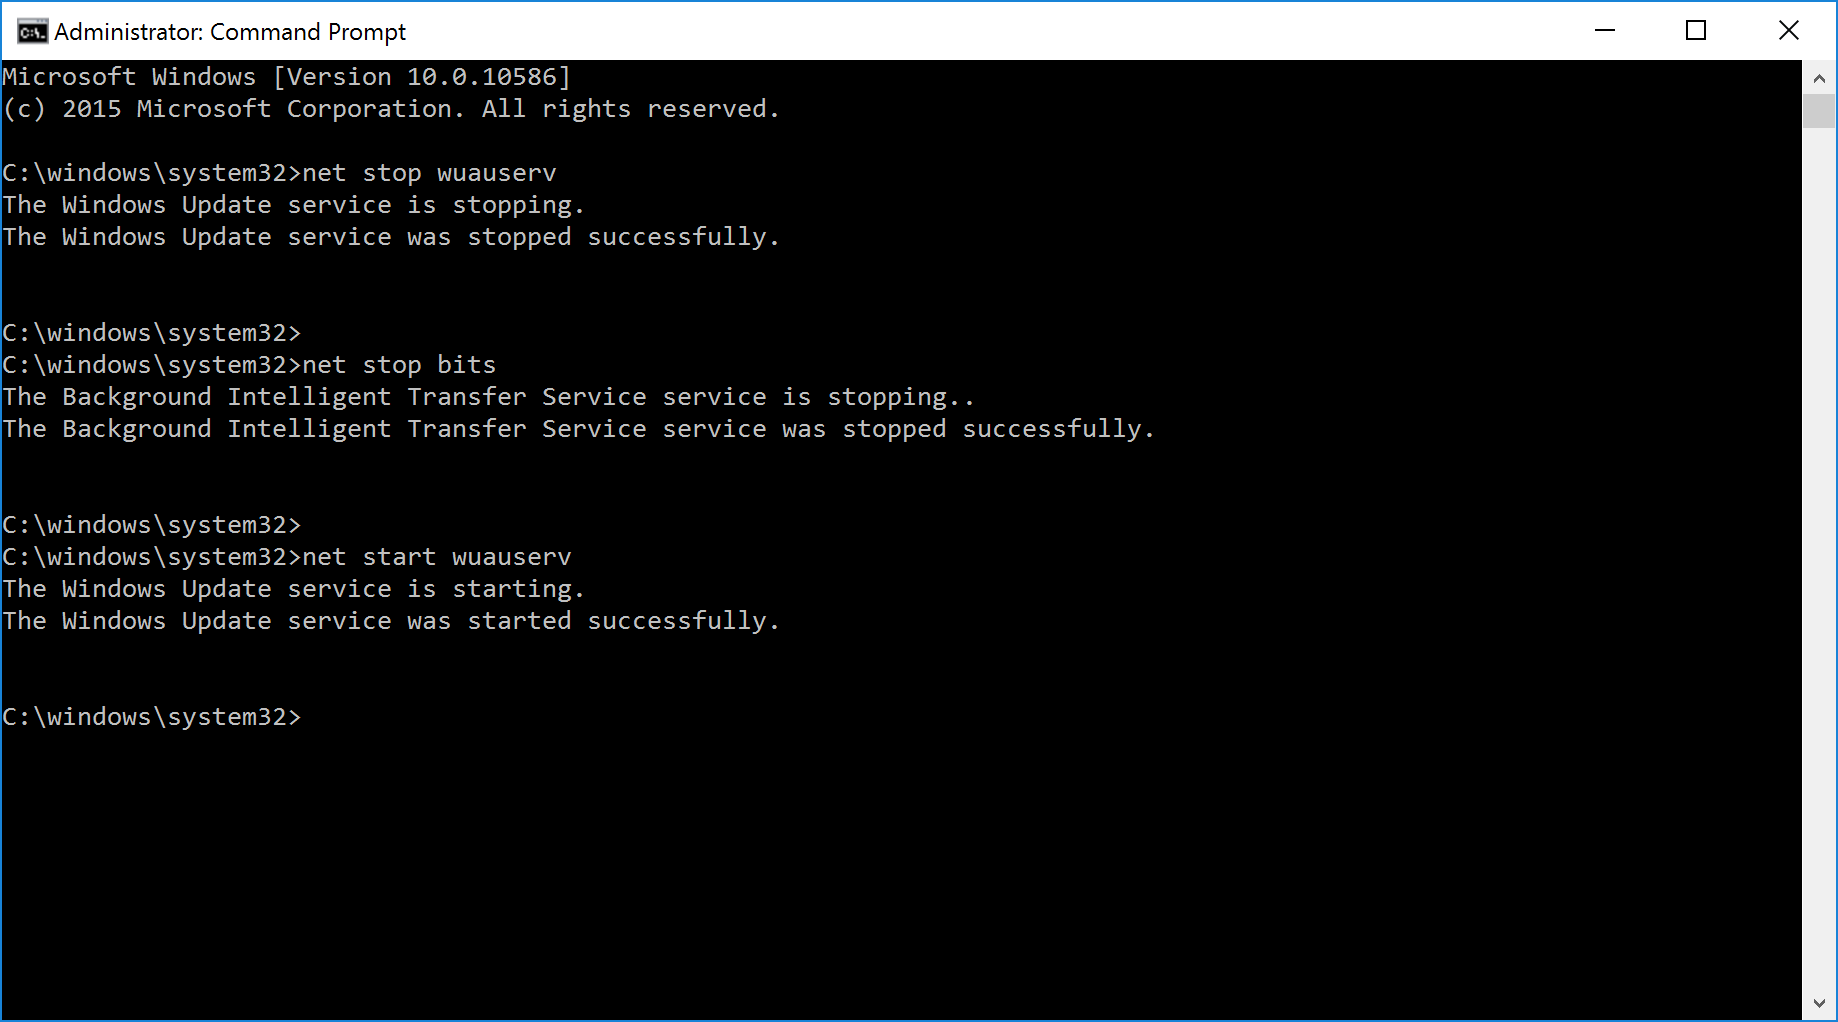
3. Type the net stop wuauserv command into the Command Prompt line and press the Enter key on the keyboard to execute the command.

4. Type the net stop bits command and hit the Enter key that is on the keyboard of your device to execute it.
5. That is all you are doing from the command prompt application for now but do not close it because you will be running some more commands later. Just minimize it instead, so it’s available from the taskbar when you want to open it up again.
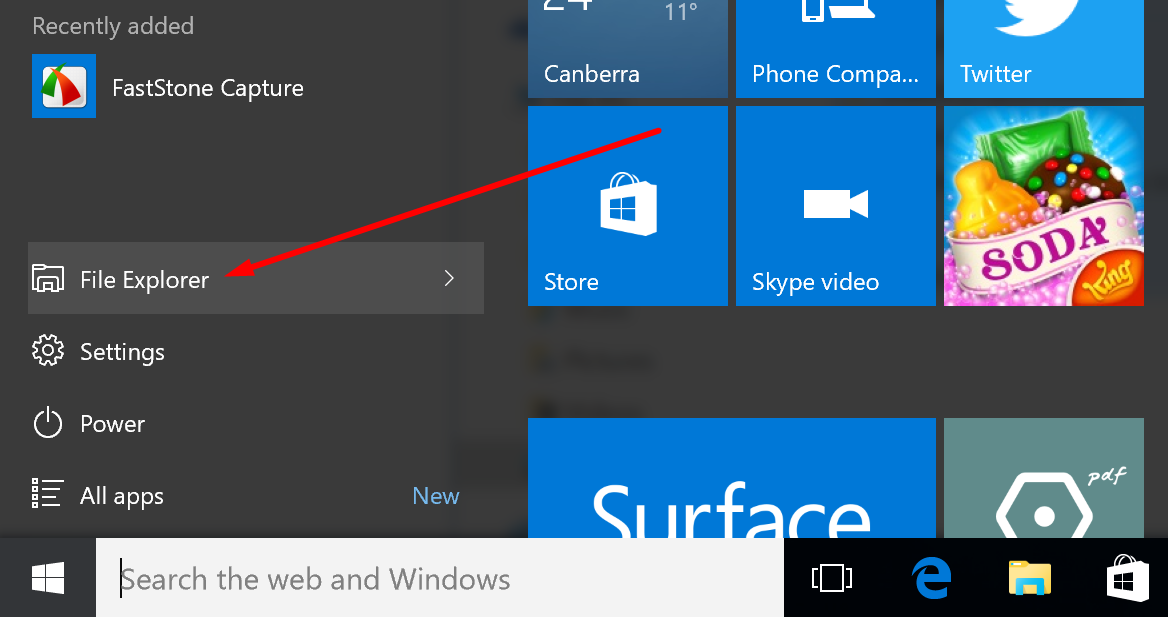
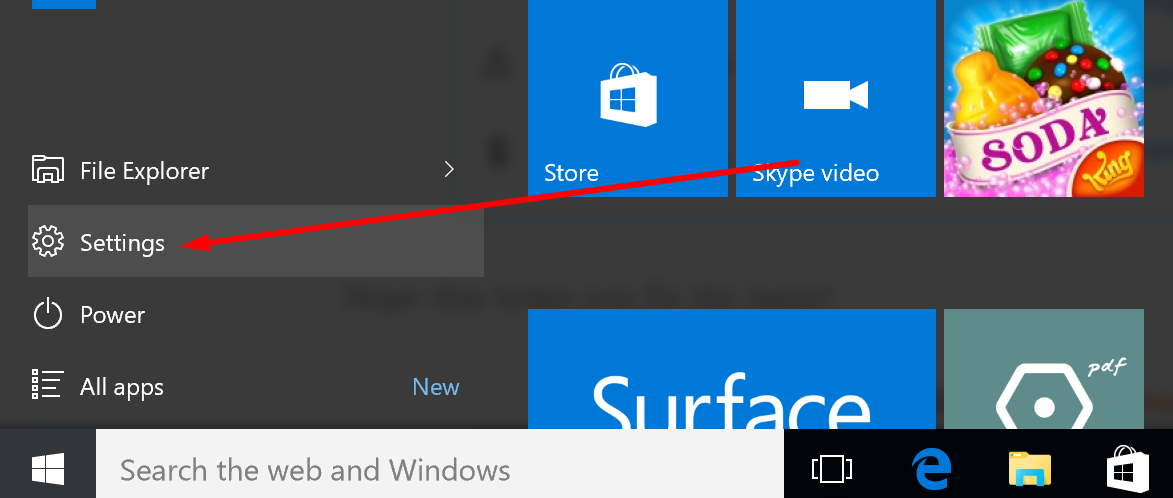
6. Click on the “Windows” icon to bring up the Start menu and then click on the “File Explorer” link in the left side pane.
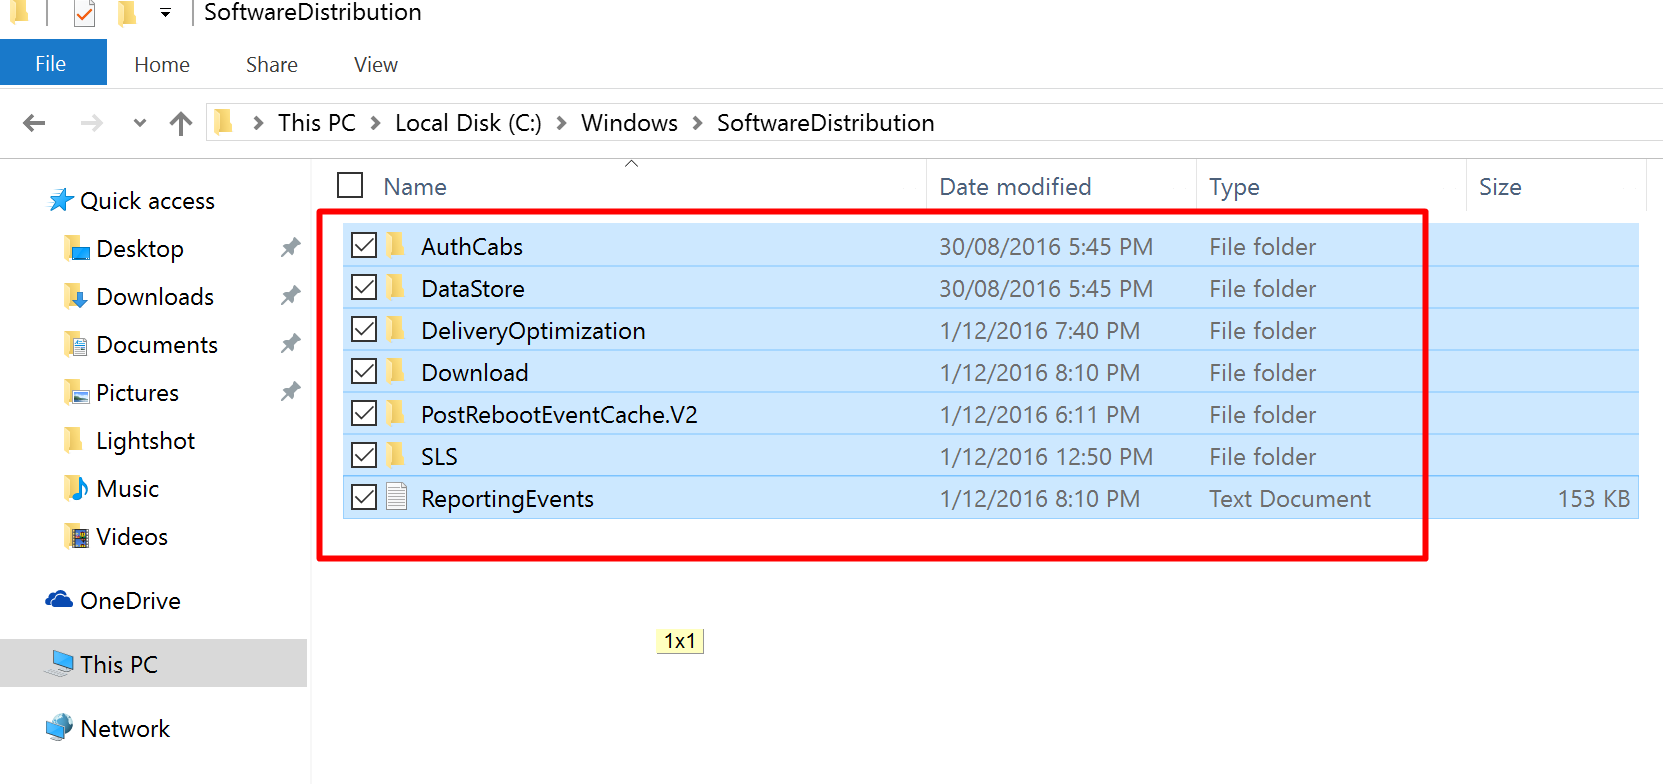
7. Type the C:\Windows\SoftwareDistribution path into the search bar at the top of the screen and then hit the Enter key.
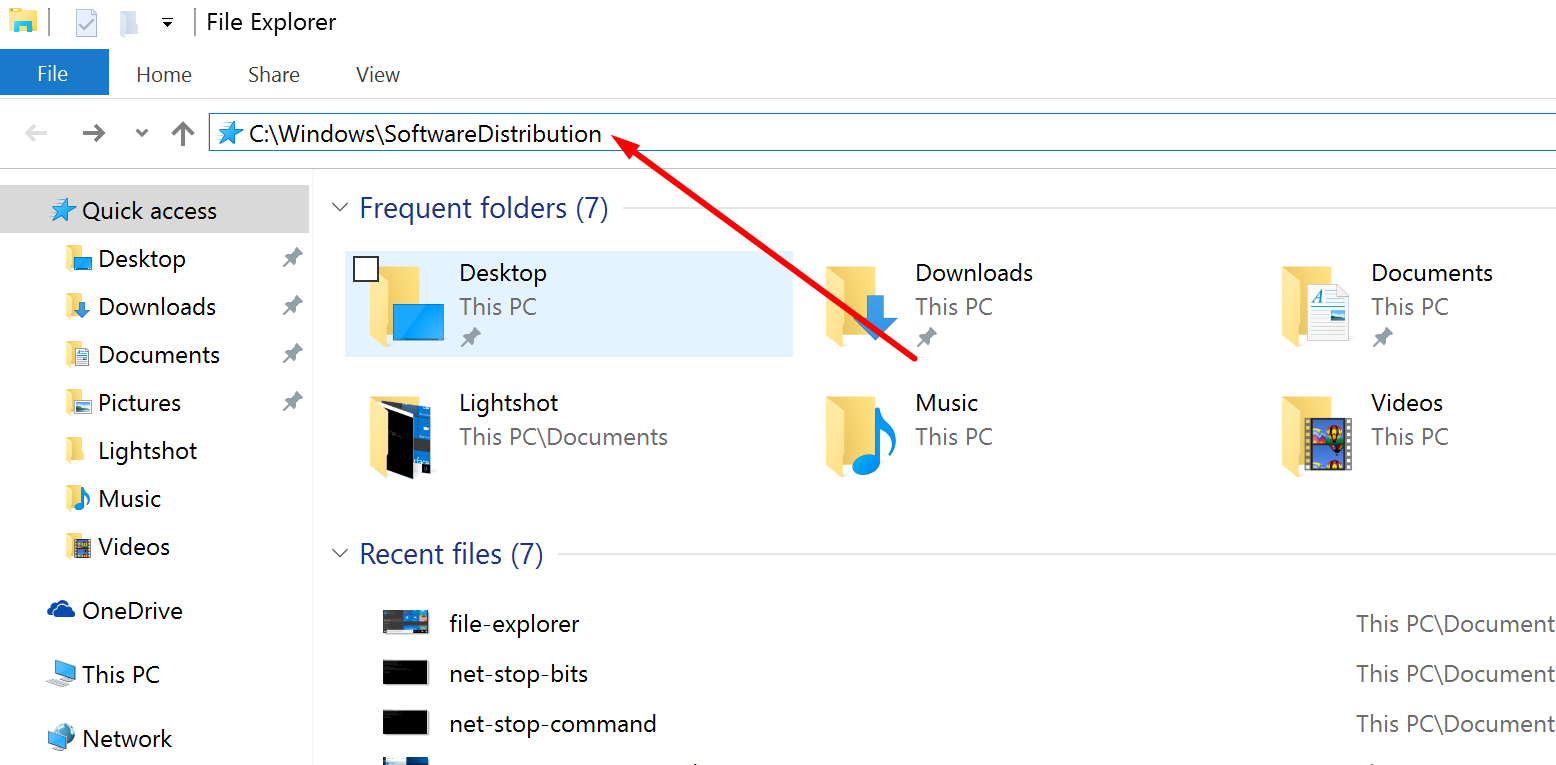
8. Delete everything that you can see from the folder options available in the Software Distribution folder that you are currently inside on the operating system.
9. You now need to type a couple of commands into the command prompt app again so open it up from the taskbar where you minimized it before.
10. If you closed the command prompt window, then you can still continue with the guide after opening another window up by navigating to the Search the web and Windows box and typing Command Prompt and clicking on the Command Prompt application so that it is open again.
11. Type the net start wuauserv command into the command window and the tap on the Enter key and you should see it state that the Windows Update service is starting and then started successfully.
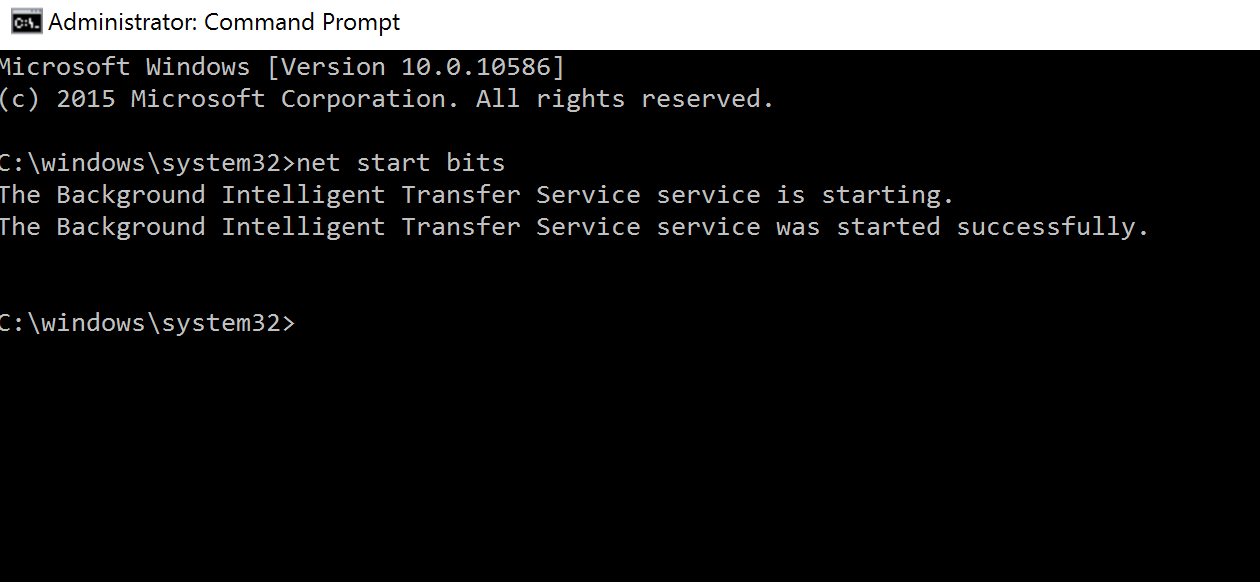
12. Type the command net start bits, and it should say that the background intelligent transfer service is starting and then started successfully also.
That’s all the commands you need to run to get the Windows operating system running the same way it was before you started.
13. Close the command prompt window and then click on the Windows icon from the taskbar to reveal the Start menu once again and this time click on the “Settings” option from the left side pane.
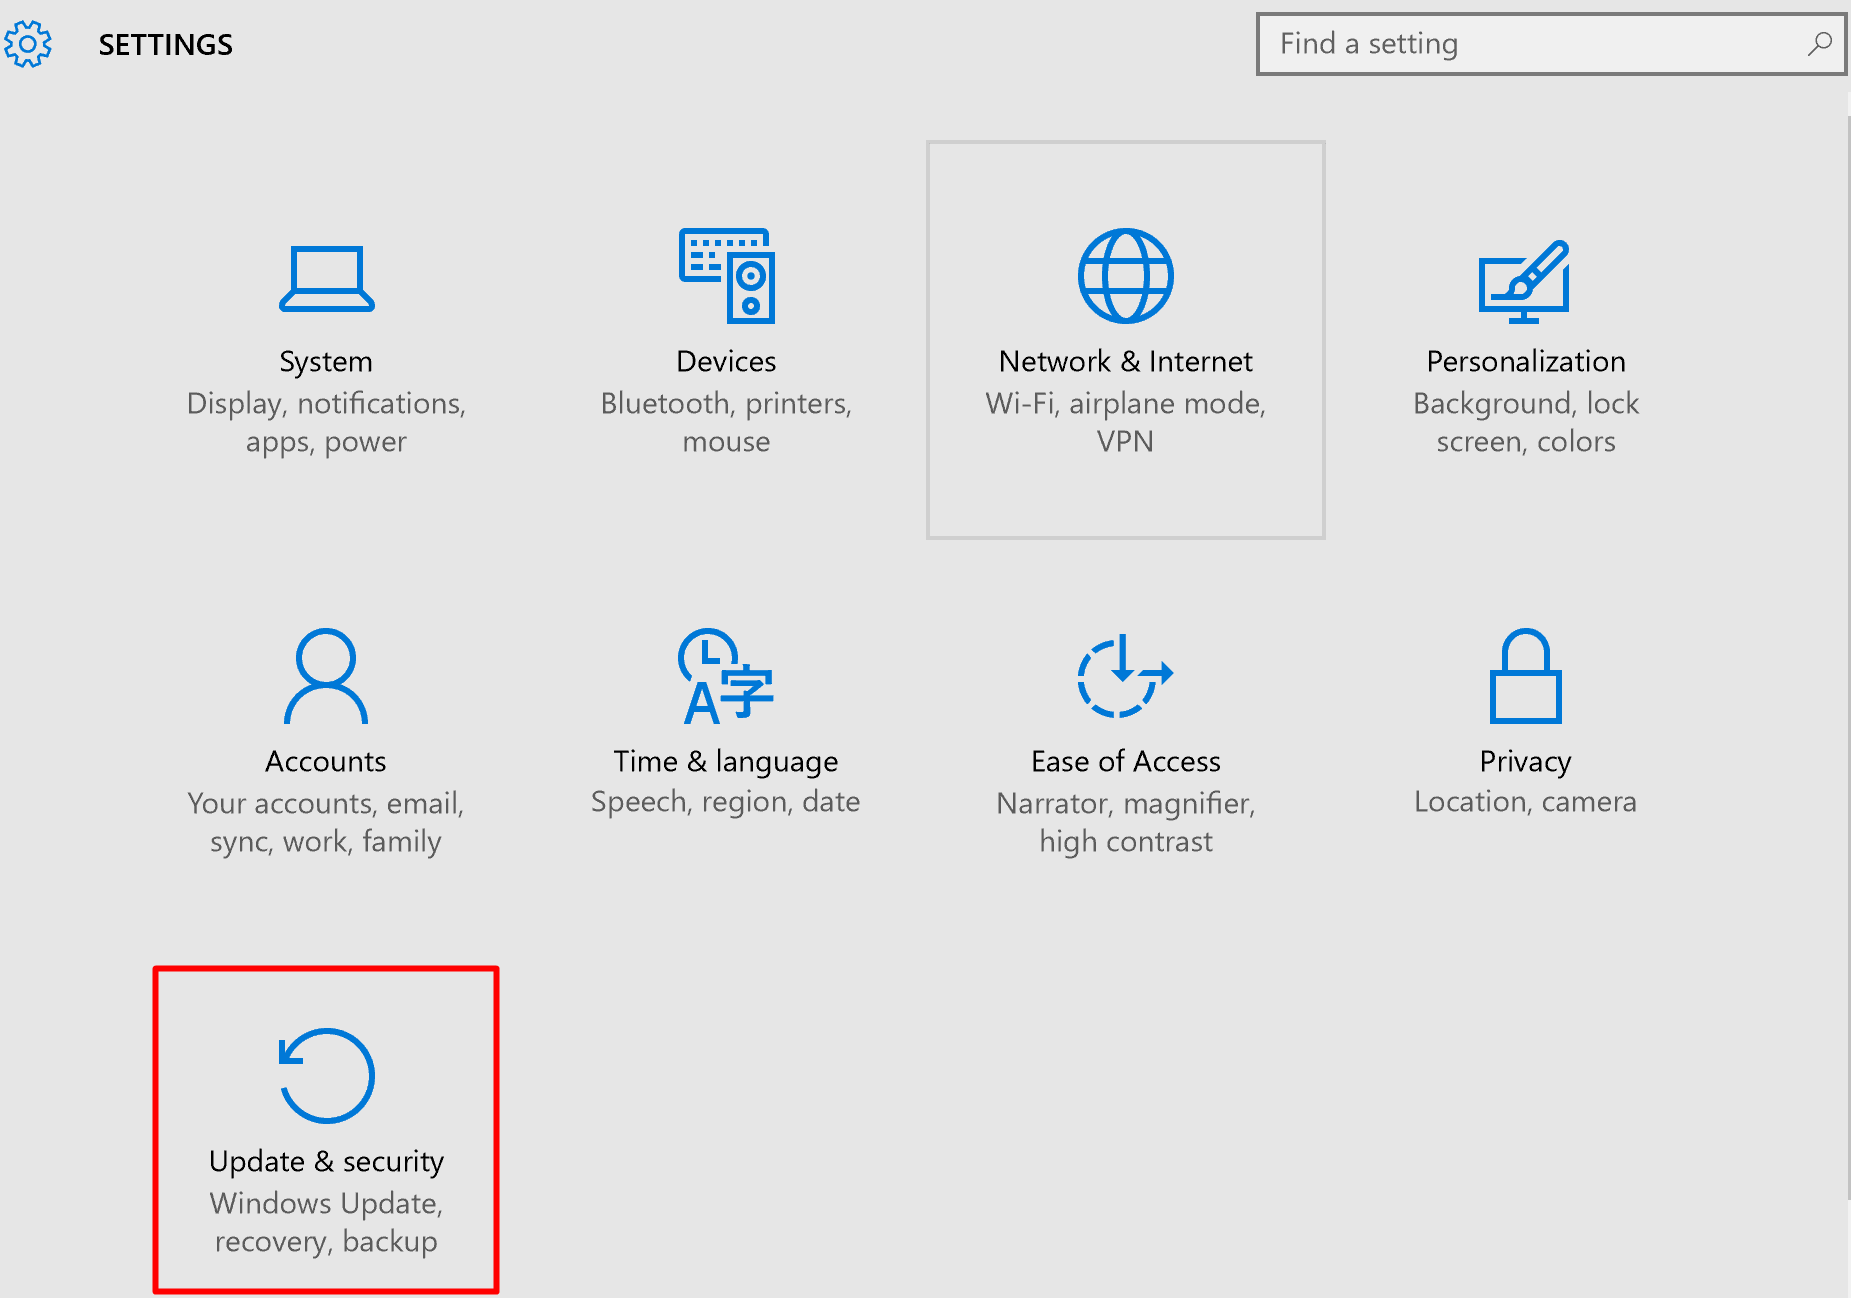
14. Click on the “Update & security” box from the Setting menu.
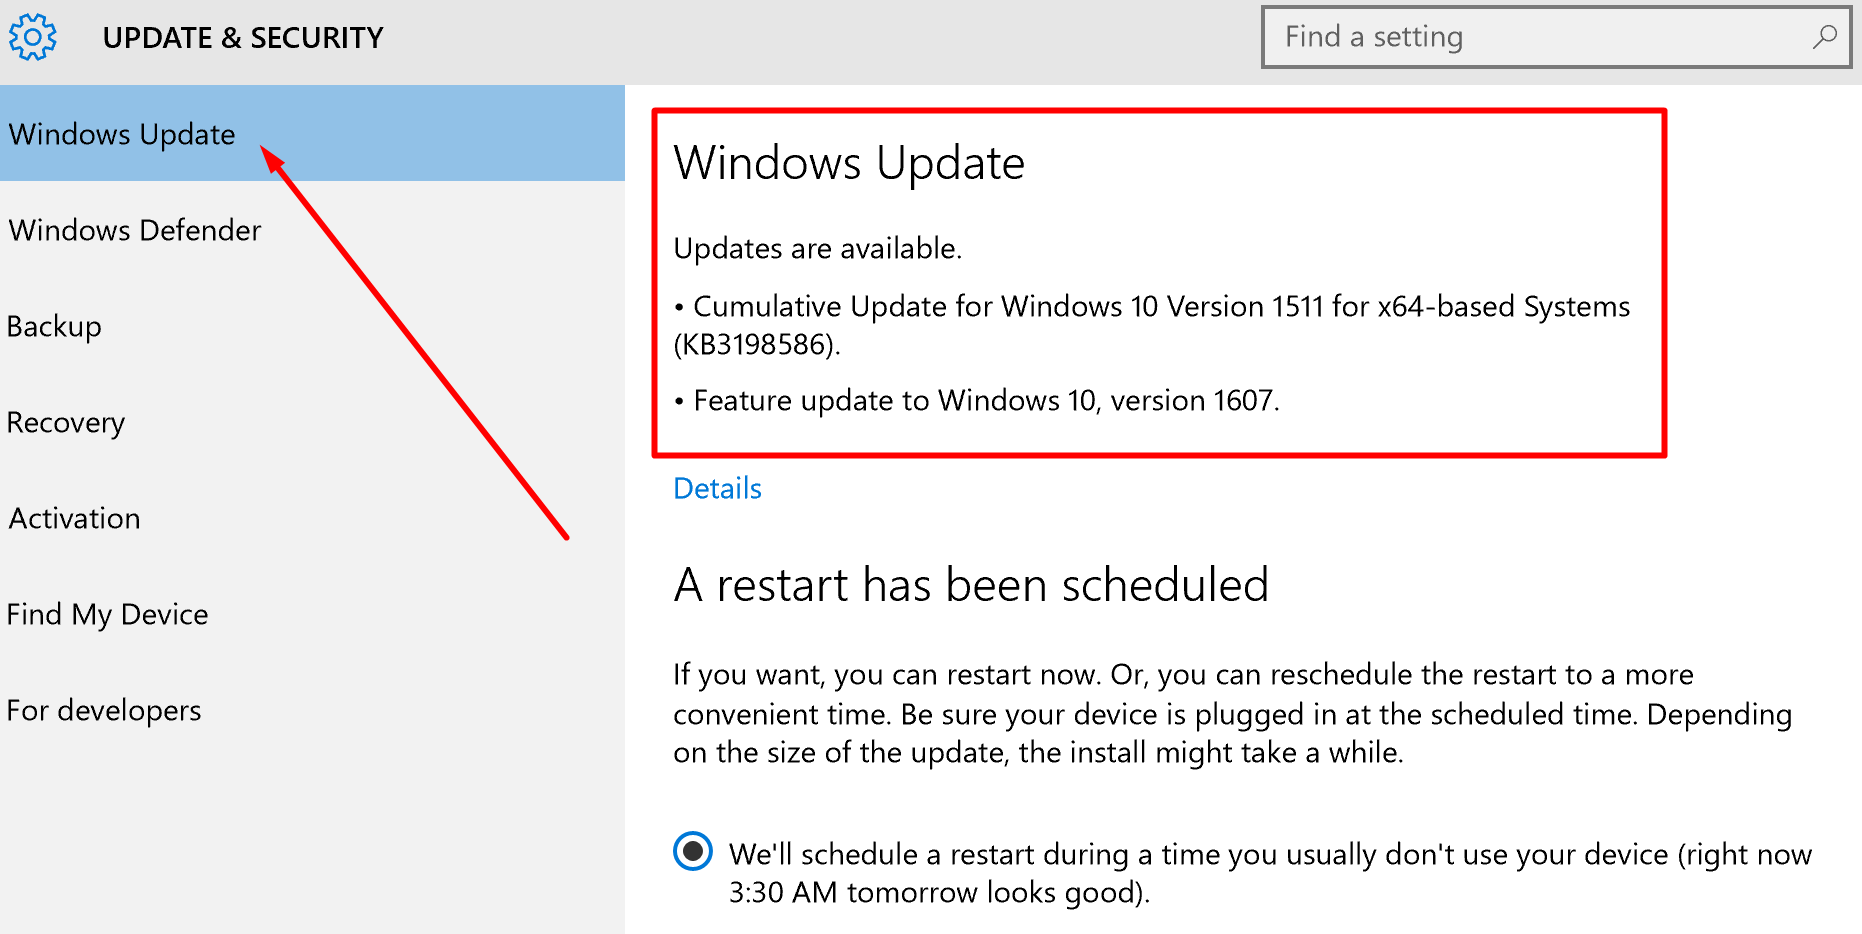
15. Click on the Windows Update option from the left side pane and then check under Windows Update if there are any new updates to install or just click on the Check for Updates button if there is none there.
As you can see, I have one update waiting for me, so I’m going to make sure I install it or schedule it so that it installs at a later time when I’m not using the computer. (Note that if you are taking advantage of the schedule option, you need to schedule it for a time when the computer is going to be on because without any power, the Windows Update cannot install.)
That is what you need to do in order to fix the Windows 10 updates from being stuck during the update was occurring. Once you have checked for updates and installed any outstanding updates, your computer should be s update to date as it would have been had the update you were installing before had not gotten stuck in the first place—which, of course, is precisely how you want your computer to be.
You might also be interested in:
- How to View Recently Updated Apps in Windows 10
- How to Automatically Log in to Windows 10
- How to Minimize Sticky Note in Windows 10 Without Deleting Note
Have something to say? You can contribute to this tech article by leaving a comment below.
January 13, 2019 @ 19:10
You can also download the Windows 10 Update Assistant from Microsoft. It’s an official tool that is designed to help solve people’s updating problems. If your computer isn’t updating automatically, then you can use the Update Assistant to manually download the latest version of Windows and install it on your computer that way instead. You can use it if you have Windows 10 on your computer already. You can find it from the same page as the Media Creation tool.