Not to toot our own horns, but there is a lot of work that goes into running a website if you’re going to keep it up to date with all the latest updates that are expected of you (that’s if you’re going to try to go toe-to-toe with the best sites in the world). We spend as much time working on other things as we do publishing articles.
One of the changes in recent years has been the realization that the Web wasn’t really all that secure and Google didn’t like that very much. The search engine giant then started to rank sites with SSL security better than they otherwise would have, in an attempt to get people to make the switch to using a website with encryption.
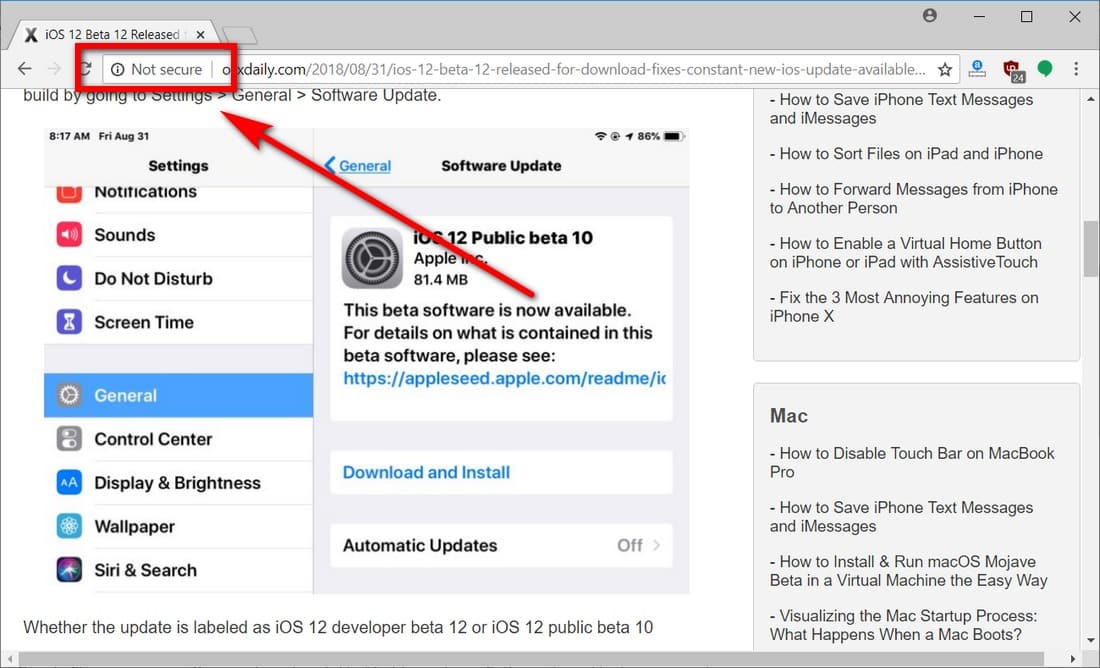
If getting content to rank better wasn’t enough to twist a publisher’s arm, then perhaps Google’s latest antics would be: you will now see a “Not secure” message next to any site that hasn’t installed encryption yet.
If you’re someone who visits websites regularly without encryption still, or you simply just don’t really care about who has it and who doesn’t, then you might be interested in disabling the “Not secure” badge in the address bar for HTTP websites so you no longer have to look at it.
Here’s what you need to turn off the Not secure badge you can with Google Chrome if you’re visiting a website which hasn’t yet updated to encryption aka an HHTP website.
How to Disable Not Secure Badge for HTTP Web Sites in Google Chrome
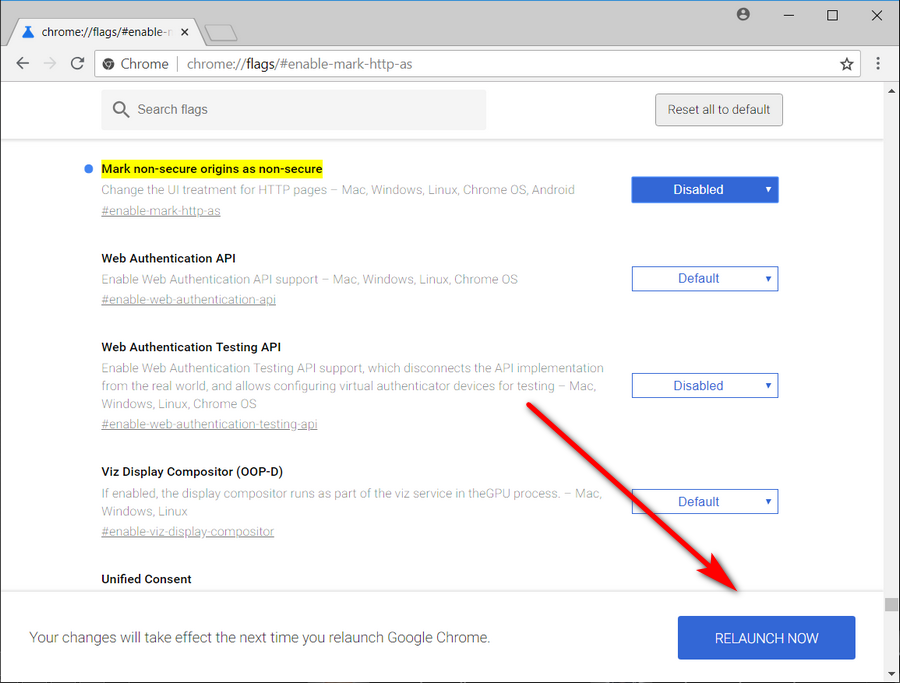
Open the Google Chrome web browser by clicking on the Chrome desktop icon or by typing “Chrome” into the Cortana search field. Now using the address bar at the top of the browser window, type the following and hit the “Enter” key: chrome://flags/#enable-mark-http-as
This’ll help make Chrome open up the flags page with the option to disable the Not Secure badge at the top.
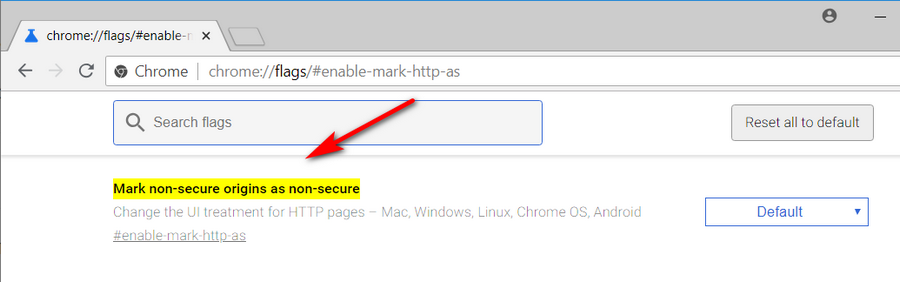
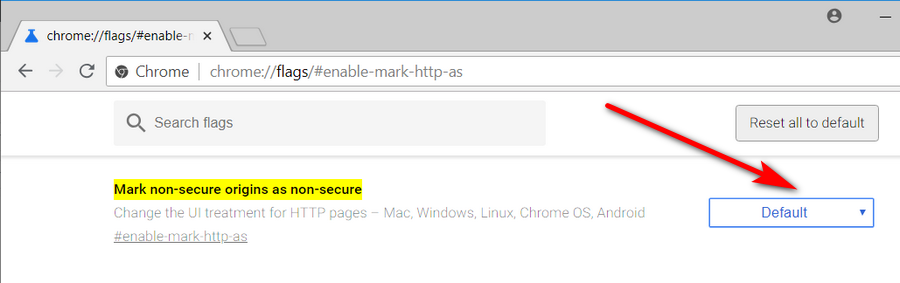
Click on the button currently labelled as “Default.” The default setting is currently set to have the Not Secure badge as enabled so you’ll need to change it from its default setting.
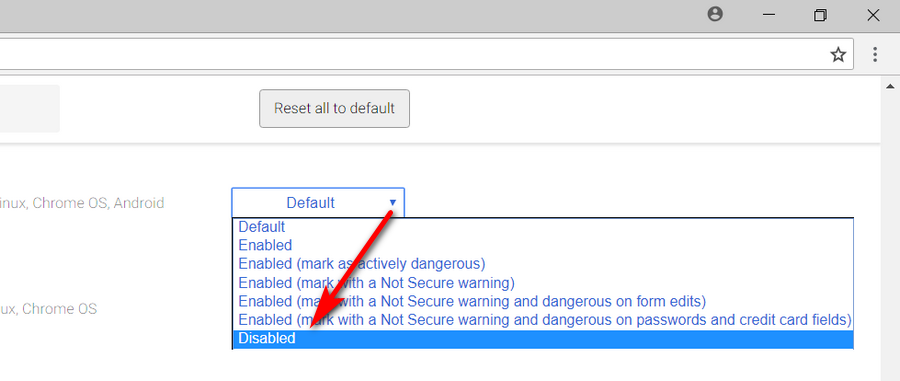
From the dropdown menu, select the “Disabled” option.
Click on the “Relaunch Now” button at the bottom of the same window to relaunch the Chrome browser with you settings saved.
That’s it.
To enable the settings again, you just need to go back to the same page, only this time from the drop-down menu select one of the options for enabling it. As mentioned, the default settings is currently set to enabled (and it’s hard to see that changing since Google is pushing for this additional security feature). However, there are also some specific options you can choose from, they are as follows:
- Enabled (this is the current default setting)
- Enabled (mark as actively dangerous)
- Enabled (mark with a Not Secure warning)
- Enabled (mark with a Not Secure warning and dangerous on form edits)
- Enabled (mark with a Not Secure warning and dangerous on passwords and credit card fields)
While these flags are working today, rumor has it that Google plans on removing them soon in the future, and when that happens, there will be no more flags and you’ll have no choice but to use Google Chrome’s default option.
Related Tutorials
- How to Enable/Disable Native Google Chrome Notifications in Windows 10
- Import Favorites from Microsoft Edge to Chrome in Windows 10
- How to Make Google Chrome Faster in Windows 10
- How to Set Google Chrome as Default Browser in Windows 10
- How to Disable Flash Player in Google Chrome and Uninstall It in Windows 10
- Chrome and Firefox Draining Battery Faster on Windows 10 in Comparison to Microsoft’s Edge
- How to Disable Hardware Acceleration in Windows 10 Photos App
- How to Manage Audio Focus Across Tabs in Google Chrome
- How to Enable Picture-in-Picture Mode in Google Chrome
September 19, 2018 @ 20:13
I highly recommend leaving your badges turned on so you can see what sites are not secure. Rather than having secure sites glowing green, they should just be normal URLs and unsecured sites should say “not secure” in red in my opinion.
Not a huge deal for blogs and forums but in e-commerce it’s huge. And you don’t really want to be having all these different sets of rules across niches.
I’ll give you an example. Recently NewEgg customers had their credit card information stolen and that was still with Comodo SSL security. You can only imagine how easy it’s getting without SSL to do tricks.