Mixed reality is the result of blending the physical world with the digital world. Mixed reality is the next evolution in human, computer, and environment interaction and unlocks possibilities that before now were restricted to our imaginations. It is made possible by advancements in computer vision, graphical processing power, display technology, and input systems.
Technological advancement is what has enabled mixed reality experiences. There are no devices today that can run experiences across the entire spectrum; however, Windows 10 provides a common mixed reality platform for both device manufacturers and developers. Devices today can support a specific range within the mixed reality spectrum, and over time new devices should expand that range.
The following tutorial demonstrates how to adjust the mixed reality visual quality for headset display when you’re using a version of the Windows 10 operating system.
How to Choose Between Automatic or Manual Mixed Reality Visual Quality for Headset Display in Windows 10
You can adjust the mixed reality visual quality for the virtual reality headset from the dedicated Headset display section of the Settings application in Windows 10. To do that:
1. Open the Settings app and click on the Mixed Reality icon from the main Windows Settings menu.
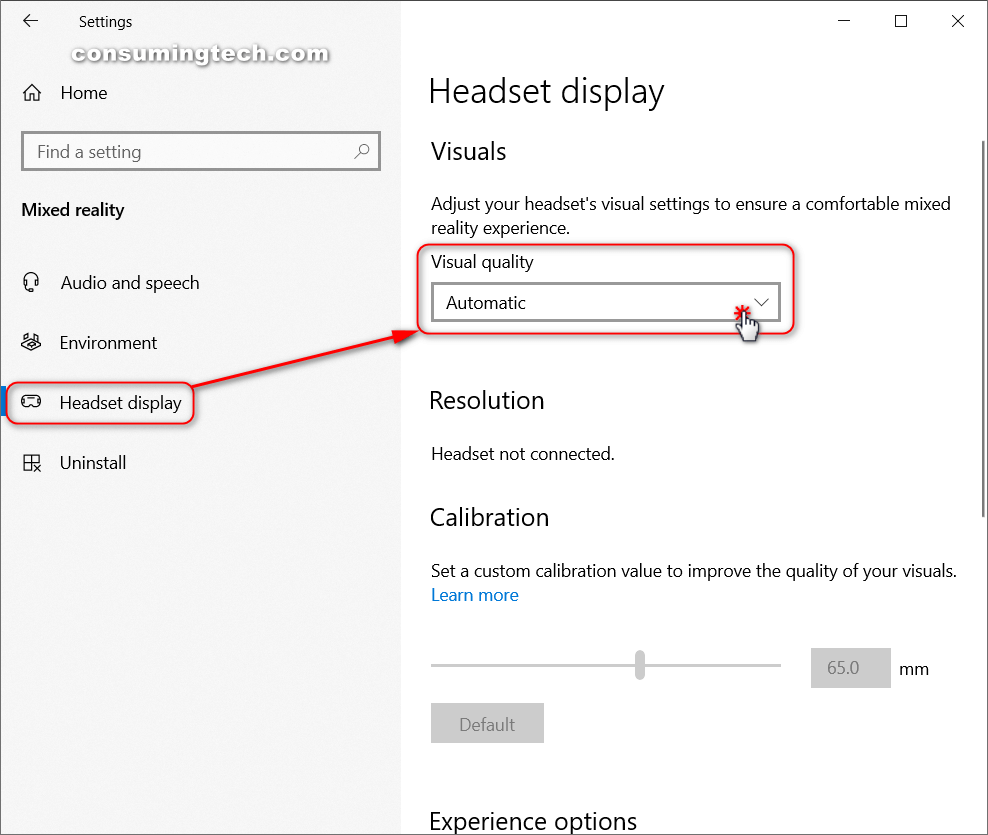
2. From the Mixed reality menu, click on Headset display and then in the right side of the same window under the Visual heading, click on the Visual quality drop-down menu and choose between Automatic, Low, Medium, High, Very High (beta).
Note: The default visual quality level in Windows 10 is “Automatic.”

You can now close the Settings app and continue using your computer if you like.
That’s all.