The first-ever release of the Microsoft Windows 10 technical preview offered three different languages for users to choose from, including English, Chinese, and Portuguese. It took a while, but many other languages were then added so most of the rest of the world coming from other countries and speaking other languages could also begin to enjoy the goodness of Windows 10 just like everyone else.
Several years on after the initial release and Windows 10 is now available to use with 25 different languages. You can buy your edition of Windows 10 in that mother tongue of choice, or you can select one of the other 24 languages from your existing copy of Windows 10 as well and use it. Moreover, if you want more than two languages, you can continue selecting as many of the ones that make up the 25 in total as you like. You just need to make sure you have enough storage space to download them to the hard disk.
These languages that you can add to Windows 10 are called language packs. They aren’t the easiest thing in the world to set up, and it can take some time to download the rather large files of each language as well, but the results should be worth the wait if you are someone who needs more than one language available to read and use in an operating system.
Windows allows you to buy any of the 25 languages, but only one of them is available by default when you start using it. You can’t purchase a version of Windows 10 that has more than one language already preinstalled. You’ll need to follow the guide below and get those extra language packs installed instead.
How to Add/Remove Language Packs and Change Display Language in Windows 10
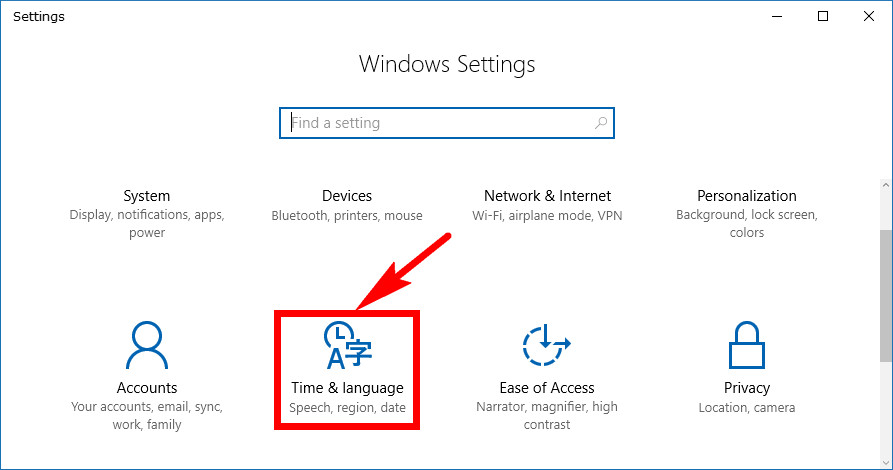
You can add and remove language packs and change display languages in Windows 10 by using the Settings application. To get started, head to Start > Settings and then click on the “Time and language” link from the Windows Settings window.
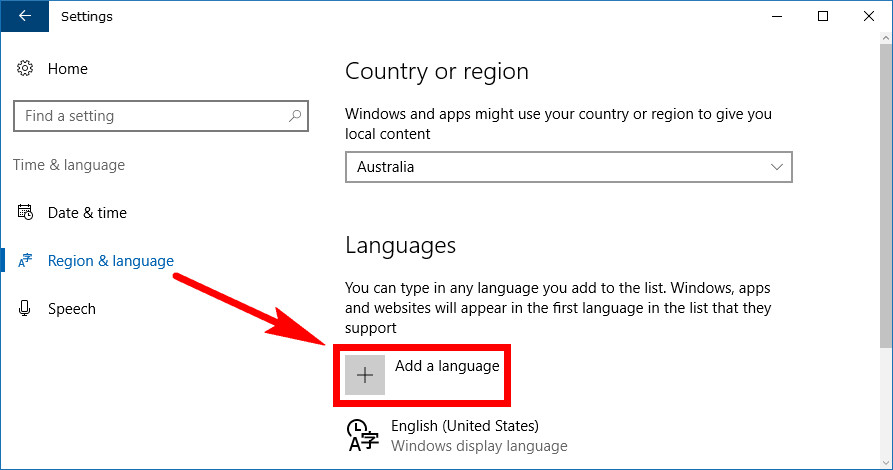
Next, click on the “Region and language” link from the left side pane and then click on the “Add a language” link in the right side pane and the Languages heading.
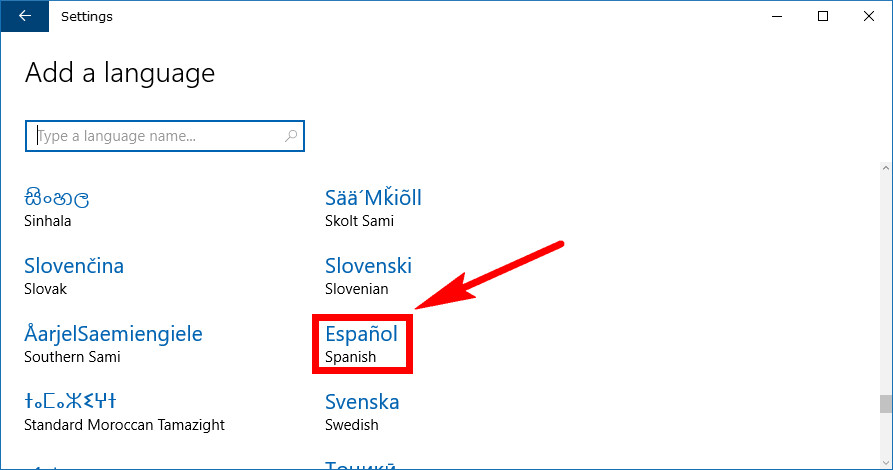
From the Add a language screen scroll down until you can see the language that you want to use.
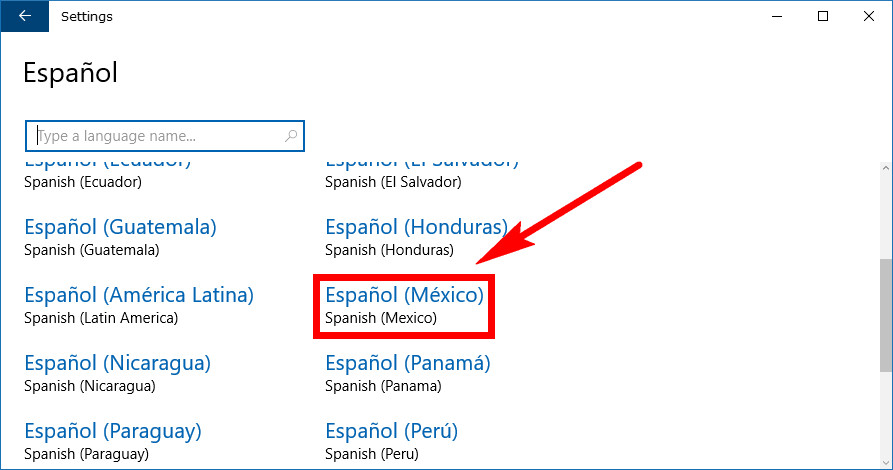
Some languages also have a secondary option. For example, the Spanish language varies between lots of central American countries. If you have one of those languages like Spanish, you’ll get to choose the more specific language from the next screen now.
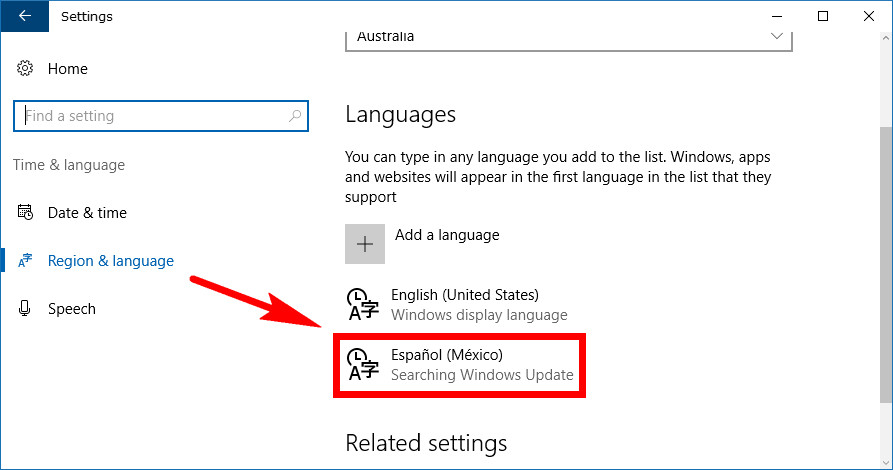
You’ll be directed back to the Languages section from the Windows Settings application, and the new language that you’ve chosen will be available in the right side pane underneath the old language you were already using. Click on it just once, and you’ll get some more options available underneath it.
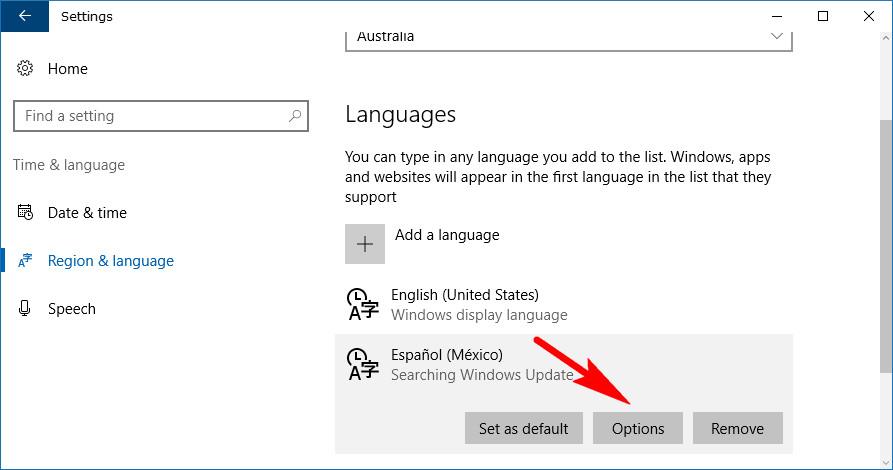
Click on the “Options” button once it has been expanded.
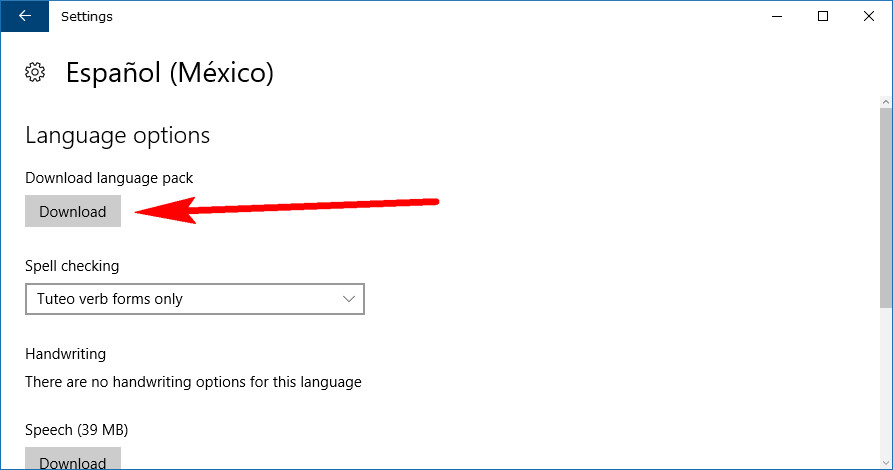
Click on the “Download” button under where it says “Download language pack.”
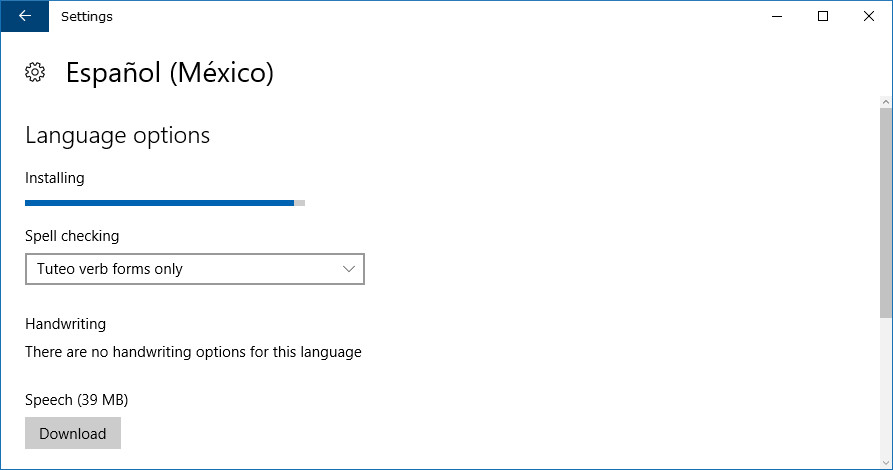
Downloading the language pack can take a while depending on how fast your interest connection is. Some countries and considerably quicker than others.
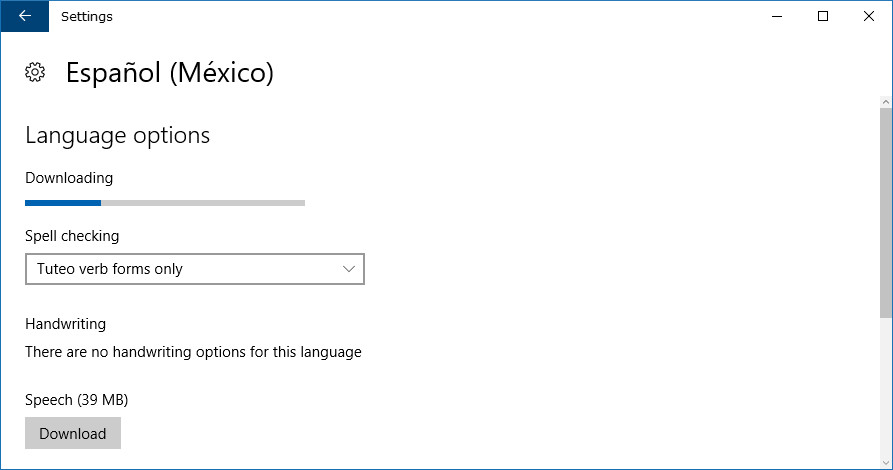
It’ll also let you know it is installing after it originally shows you that it is downloading. Keep waiting until the installation completes.
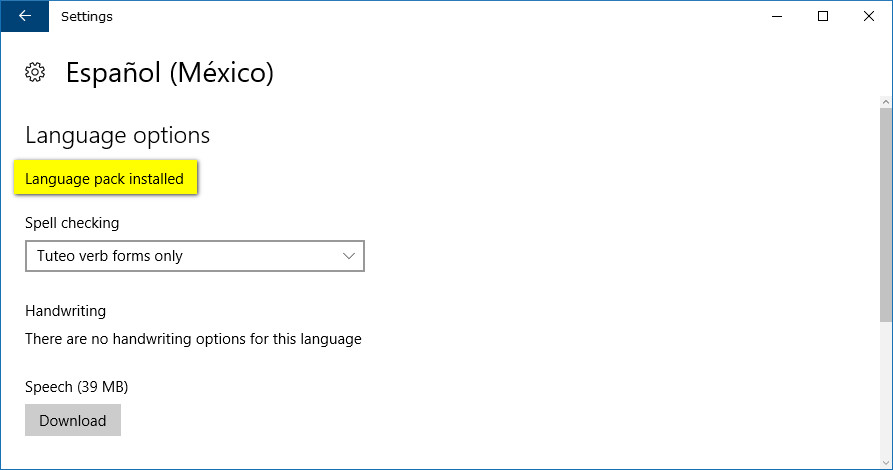
It eventually lets you know from the same area that the language pack is installed after it is finished.
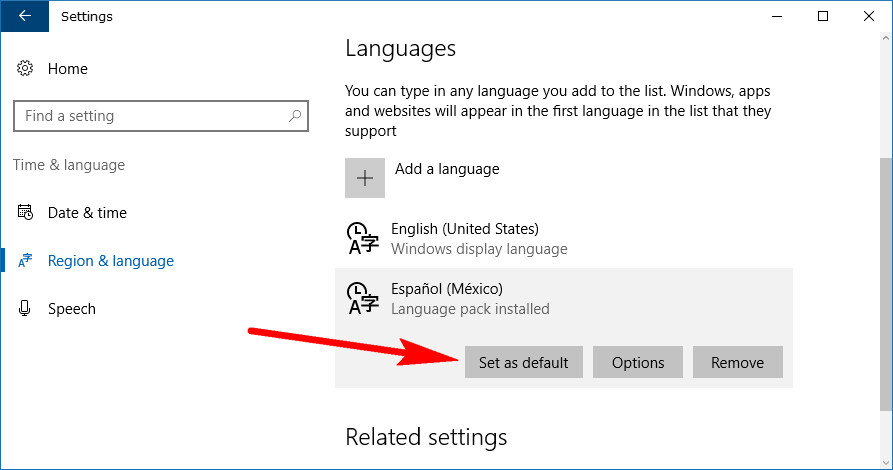
Now all you need to do is click on the “Set as default” button from the same area you expanded earlier.
The display language will now be changed the next time you sign in to your account. Everything remains the same until you sign out and back in again. Now is a good time to make sure you have set the right language just in case you are about to find a language you can’t understand when you reboot the computer.
Related Tutorials