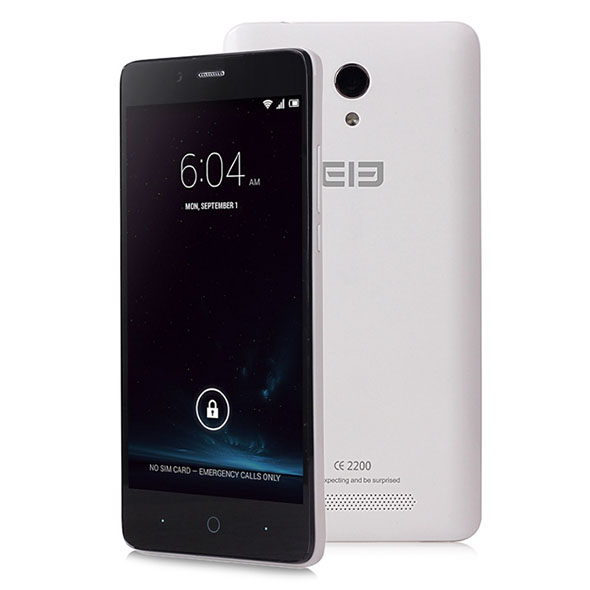
If you have an Elephone P6000 Pro and you wish to root and install a custom recovery on it, you are in luck. Both of these things for this phone are available and you are just a few steps away from getting them running on your phone.
The guide below is all about rooting and installing a custom recovery on the Elephone P6000 Pro. So, follow it and get your phone rooted to then enter an adventurous Android world you have never been to before!

Here you go:
Files You Need
- This should root as well as flash a custom recovery on the Elephone P8000 Pro.
- You do not actually need a computer to do this tutorial as the steps can be done right off the phone itself.
- This should flash a custom recovery called CWM on your phone.
- Download CWM Recovery to your computer. It will be flashed on your phone.
Rooting the Elephone P6000 Pro
- The ROM that ships with the Elephone P6000 Pro comes pre-rooted. So you just need to install the SuperSU app to manage the root permissions.
- Open Google Play on your phone, search for and tap on SuperSU, and install the app on your phone.
- When the app’s installed, launch it from your app drawer.
- The app should prompt you to update the binary files. Allow it to do so.
- When the binaries are updated, reboot your phone.
- You are now rooted!
Your Elephone P8000 is now rooted with the SuperSU app, and you can now follow the following section to flash a custom recovery on your phone:
Installing a Custom Recovery on the Elephone P6000 Pro
- Connect your phone to your computer using a suitable USB cable. Ensure your phone can receive files from your computer.
- If the CWM Recovery that you downloaded is in .zip format, extract the zip by right-clicking on it and selecting Extract here.
- Copy CWM Recovery .img file from your computer over to the internal storage on your phone.
- When CWM Recovery is copied, disconnect your phone from your computer.
- Head over to the Google Play store and download and install Flashify on your phone.
- When the app’s installed, open it from your app drawer.
- Tap the option that says Recovery image under the Flash section in the app.
- Select choose a file on the screen that follows to choose a recovery file to be flashed on your phone.
- Choose the CWM Recovery file that was copied to your phone.
- Confirm the prompt and wait for Flashify to flash the recovery on your phone. It should not take too long.
- When Flashify’s done flashing recovery, reboot your phone.
- You are all done!
CWM Recovery has been successfully flashed on your Elephone P6000 Pro and you can reboot into the same using the Quick Boot app. You can also use the Volume UP and Power buttons key combination to get into the recovery mode, should you not wish to install an app just to access the recovery mode.
Now that you have root access and CWM Recovery on your phone, you are all set to flash your phone with various custom ROMs and custom kernels available out there. Check out the popular forums like XDA to find out what new ROMs and kernels have arrived for your phone so you can check them all out while they are hot.
You might also be interested in:
- How To Unroot The Elephone P6000 Pro
- How To Install A Custom Recovery On The Asus Zenfone 5
- How To Install A Custom Recovery On The HTC Desire C
- How To Root The HTC Desire C
- How To Install ClockworkMod Recovery On The HTC Desire C
Have something to say? You can contribute to this tech article by leaving a comment below.